I’d never met a film stock I didn’t like until I met Kodak Max Zoom 800. To be fair, the two rolls I got from Ebay were expired, but the general online consensus seems to be that I am not alone in my opinion. I shot the first roll in a point-and-shoot and didn’t care for the results, so I figured the second roll would be as good a time as any to start experimenting.

Side note: the photos in this post will be the unaltered lab scans I got back, but I think a little bit of editing goes a long way with low-contrast results like these.
I’ve been on a bit of a pre-exposure/double-exposure journey lately. I like the altered Kodak stocks released by companies like Dubblefilm and Kono, and my goal is to get more insight into how those altered films are made. Plus, if I figure this out, I could be getting Dubblefilm results for Kodak Gold prices. You can’t beat that, right?
It’s difficult to find good information on how to do this kind of thing, though, so this video by SilberSalz on pre-flashing felt like a miracle. The video shows an image being pre-exposed by a grey card at different levels of exposure, and found that two to five stops underexposed lifted the shadows with minimal effects on the highlights.
I decided to underexpose by two stops for maximum effect, but I forgot a key factor: this roll was extremely expired. For context, here’s how my first roll turned out after I made the mistake of shooting it at golden hour in a camera with no exposure settings:
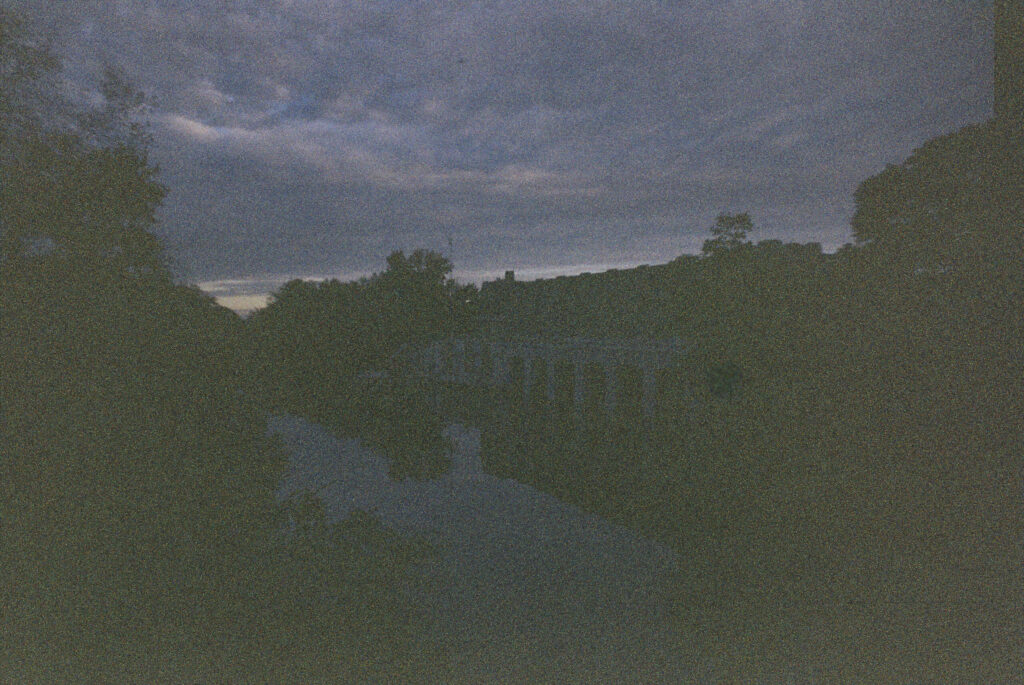
It definitely no longer functions as an 800-speed film. The smart thing to do would’ve been to set my Elan’s ISO to 200 before pre-exposing. Instead, I left it at 800 and then underexposed by two stops using my camera’s light meter.
I used the same camera to actually shoot the roll, figuring that was my best chance to make sure the frames lined up. Luckily, I remembered to set my ISO to 200 when shooting.
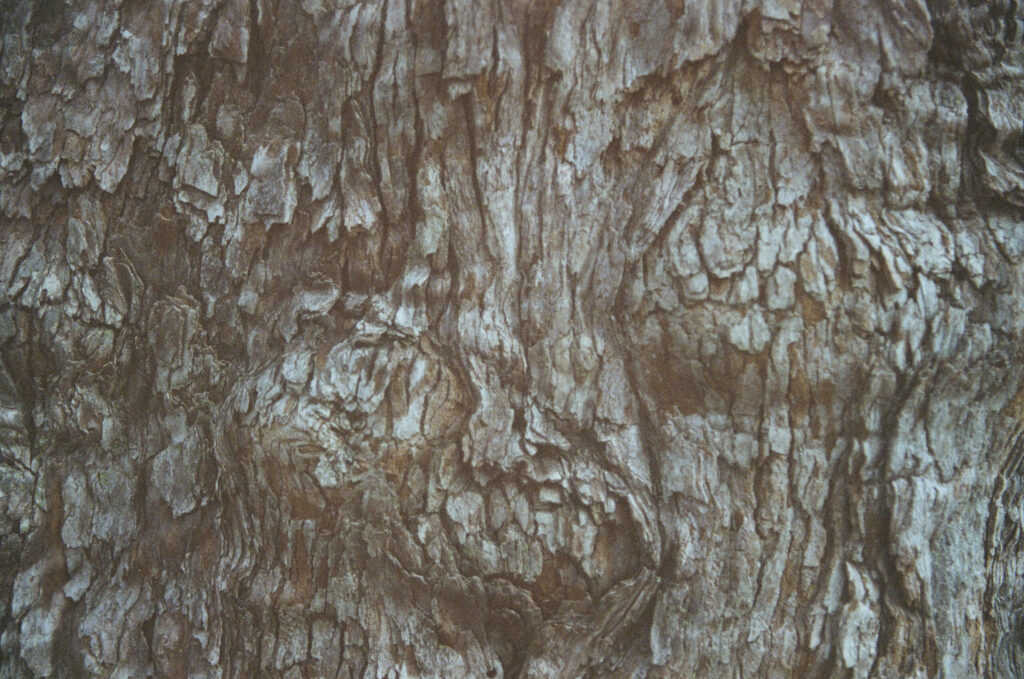
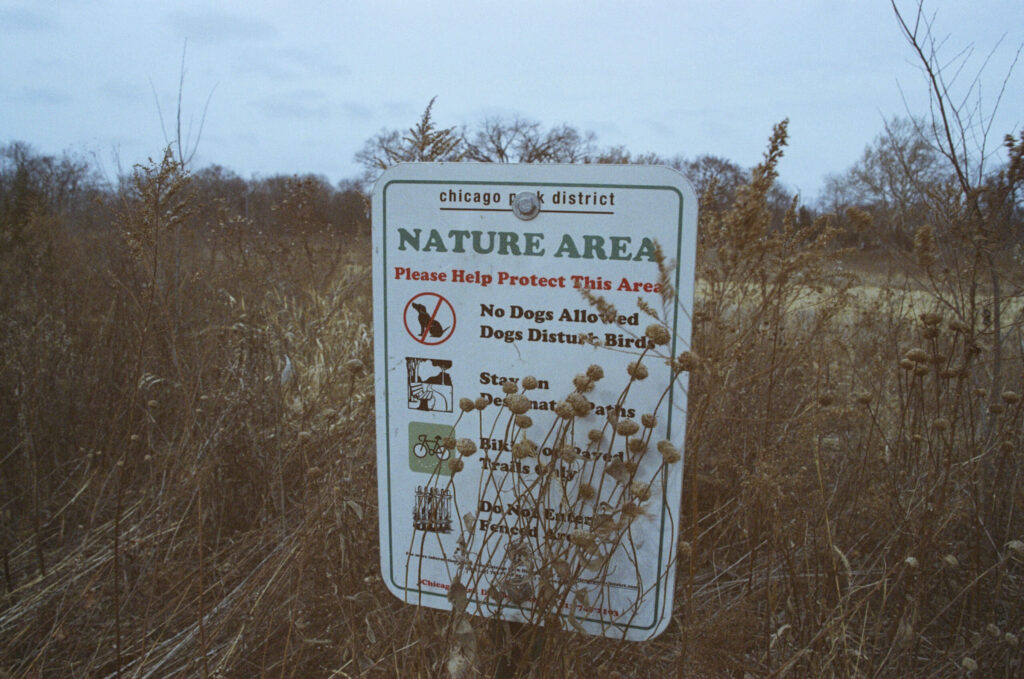
For the first twelve frames, I had pre-exposed by shooting different colored cloths over a lightpad in a dark room.
Can you tell that these were pre-exposed? Me neither. These first twelve frames were pretty mundane.
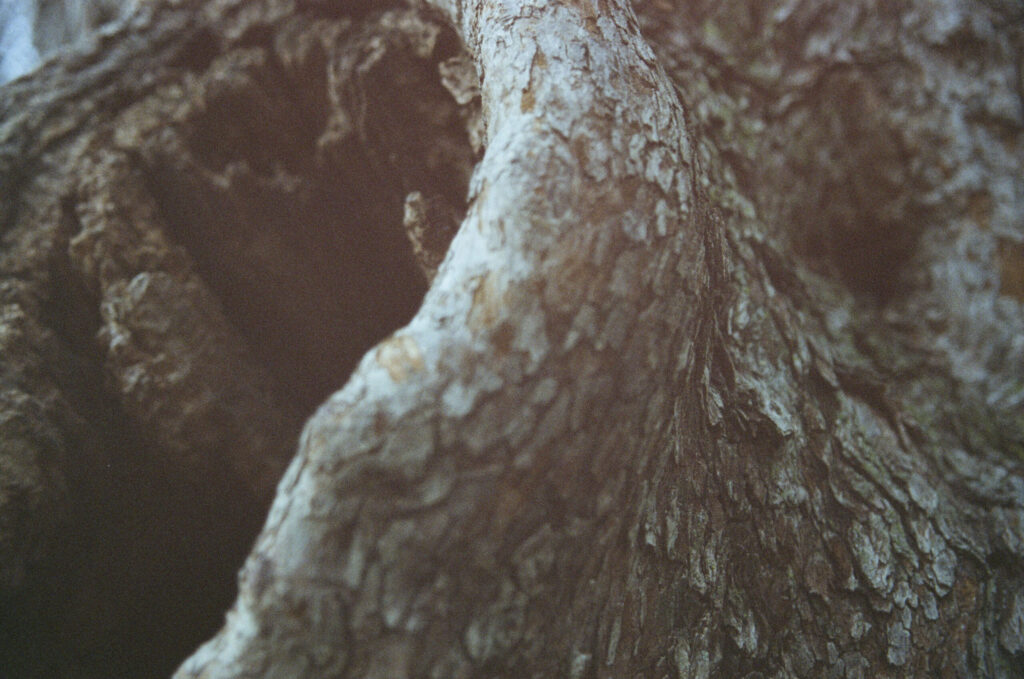
Frame thirteen is where it gets interesting:
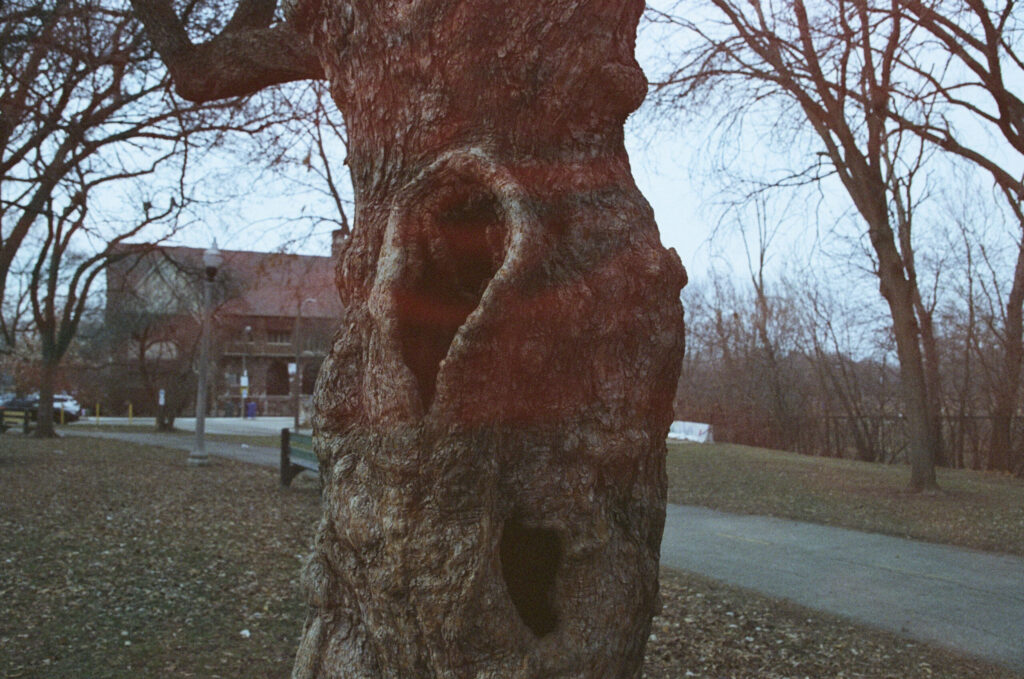
For this frame, I turned off the lightpad, turned on the room lights, and shot a piece of red velvet cloth at f/4.0 with…an eight-second shutter speed. I was convinced the final results here would be terribly underexposed due to reciprocity failure, but not only is the exposure not bad, this is the most pronounced effect I got in the entire roll. Too bad I only did one frame of it!
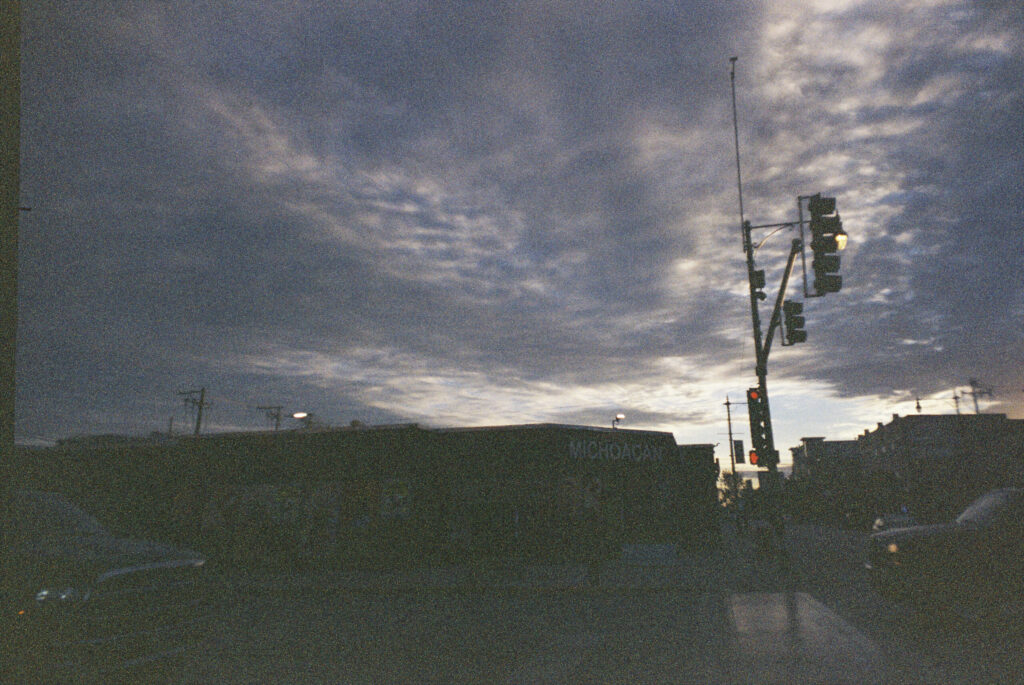
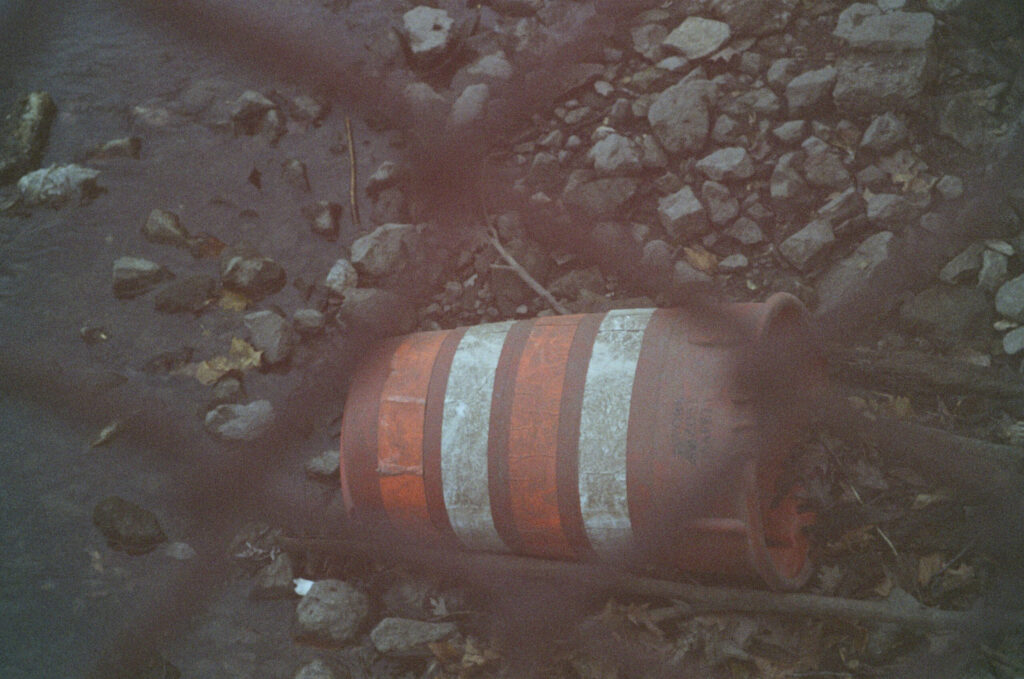
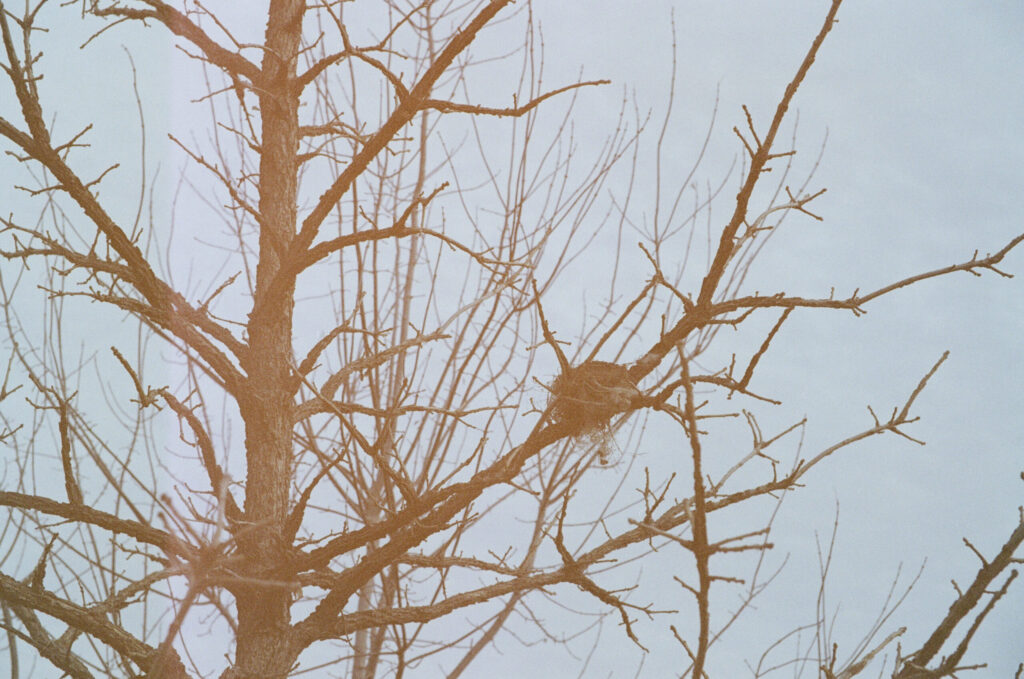
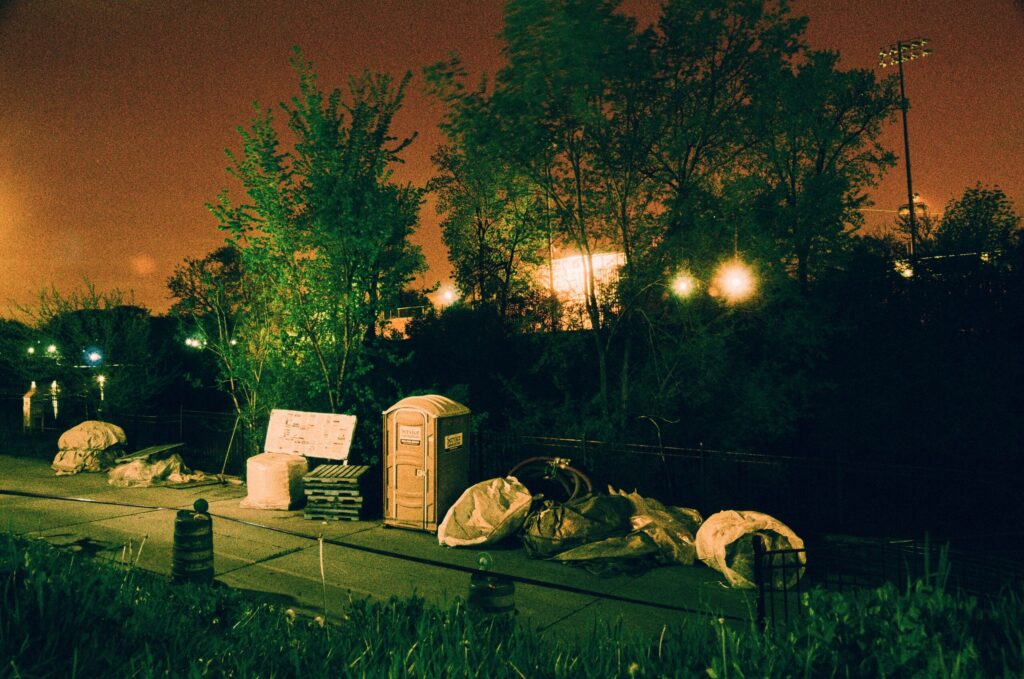
Next, I darkened the room again, minus a lamp that has a color-changing bulb. I finished out the roll by shooting the lampshade at f/4.5 and whatever shutter speed landed me at two stops underexposed.
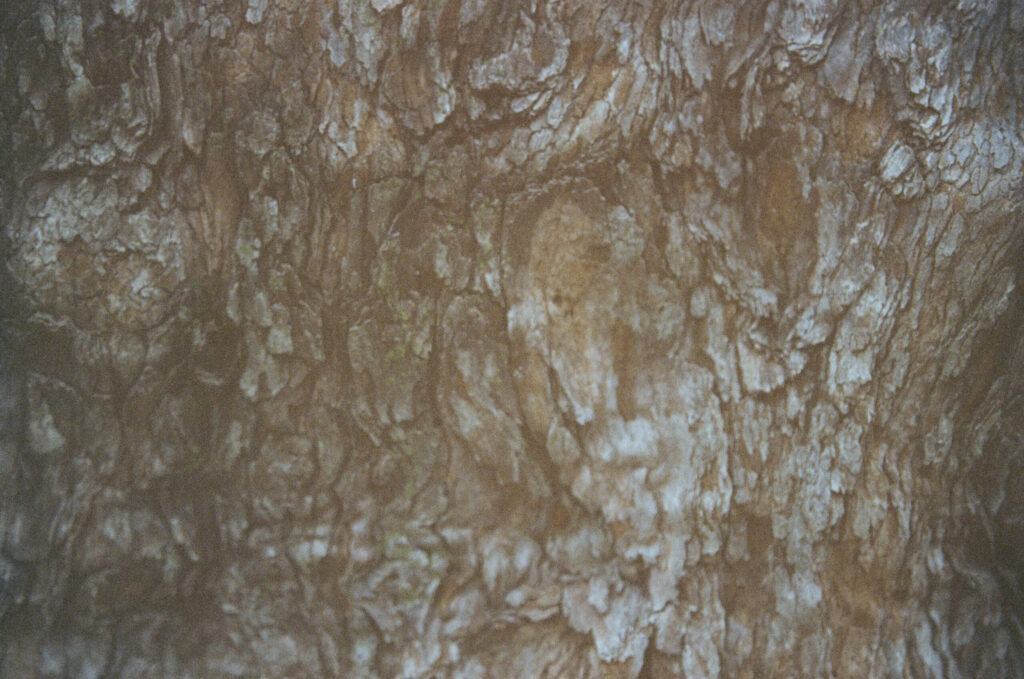
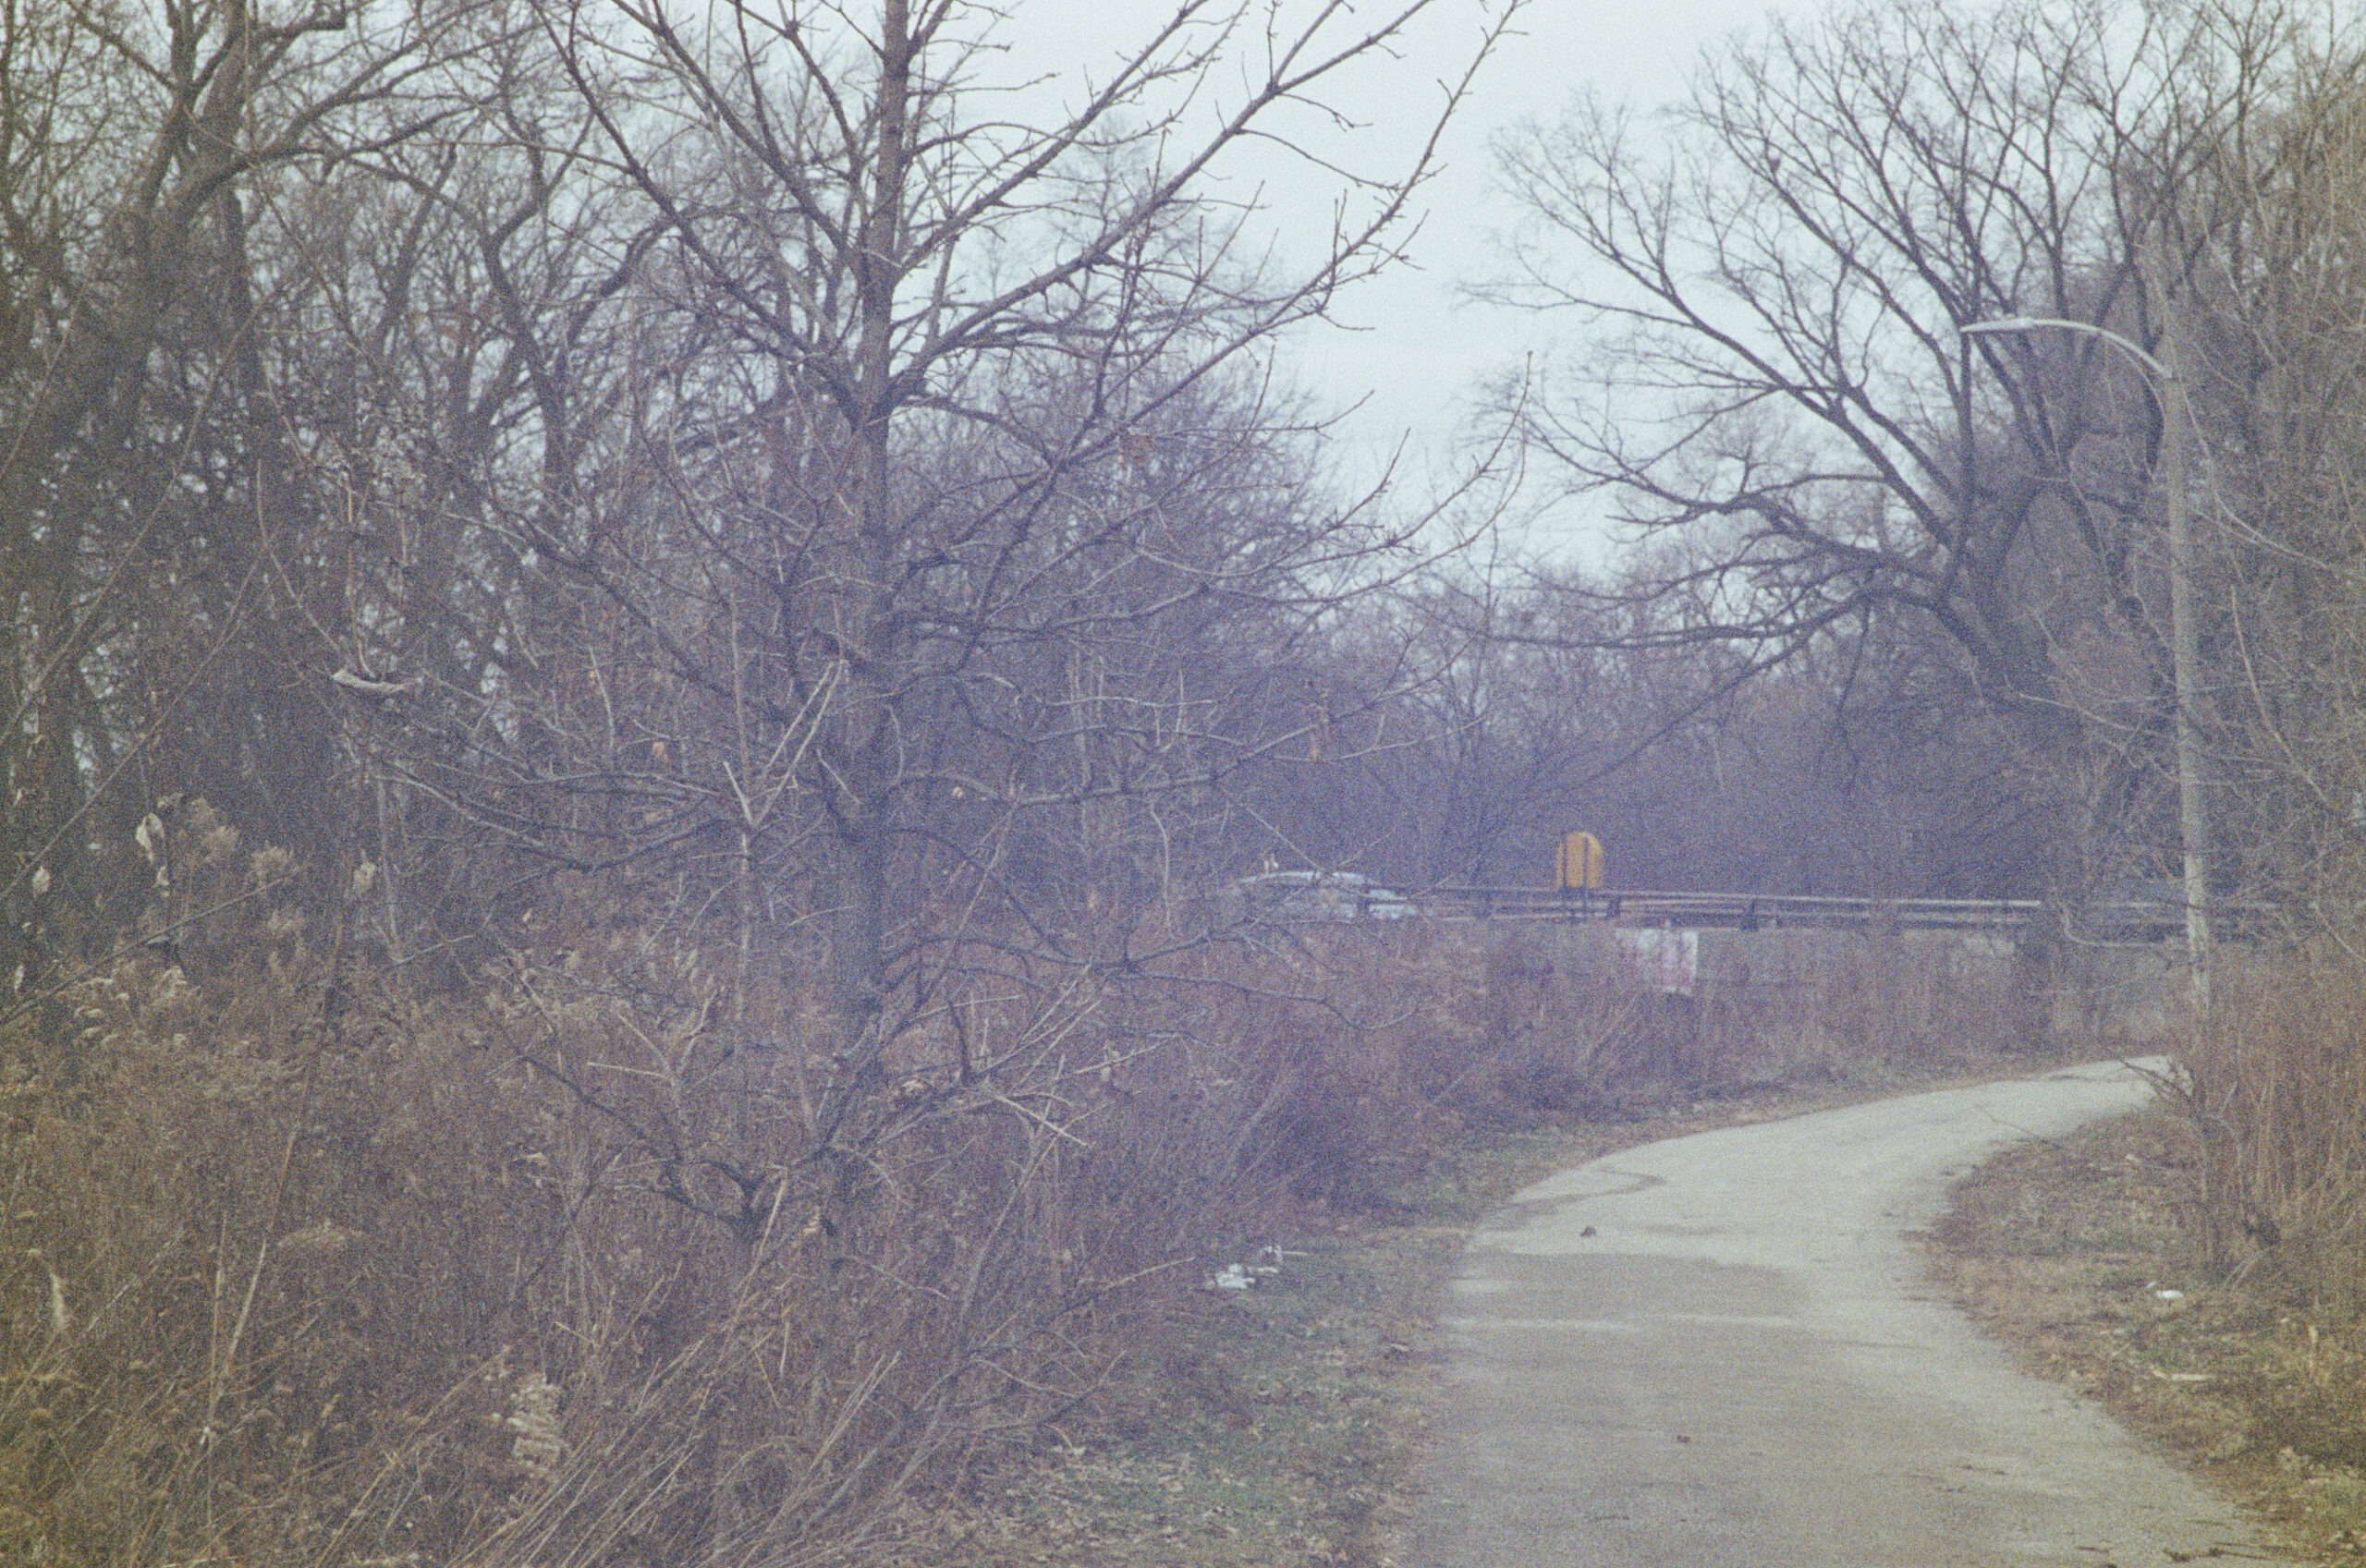
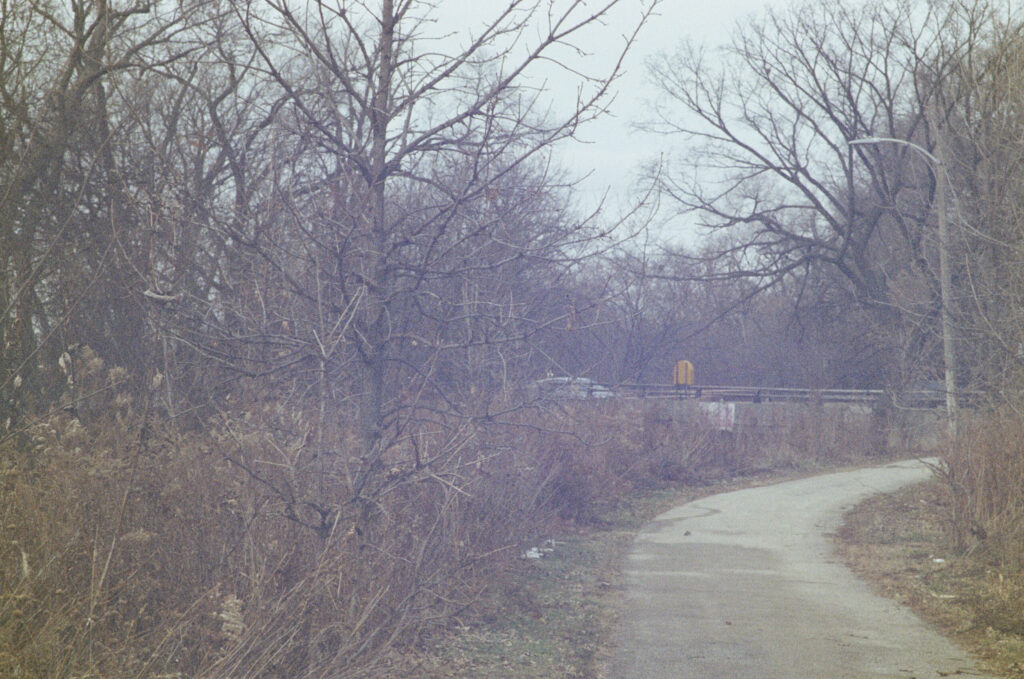
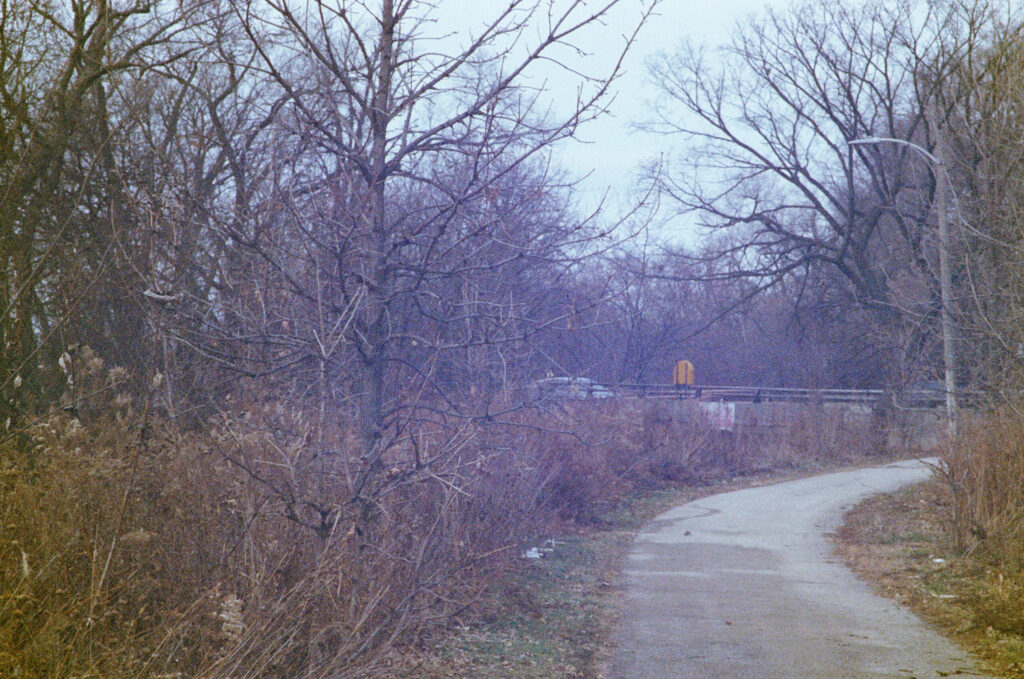
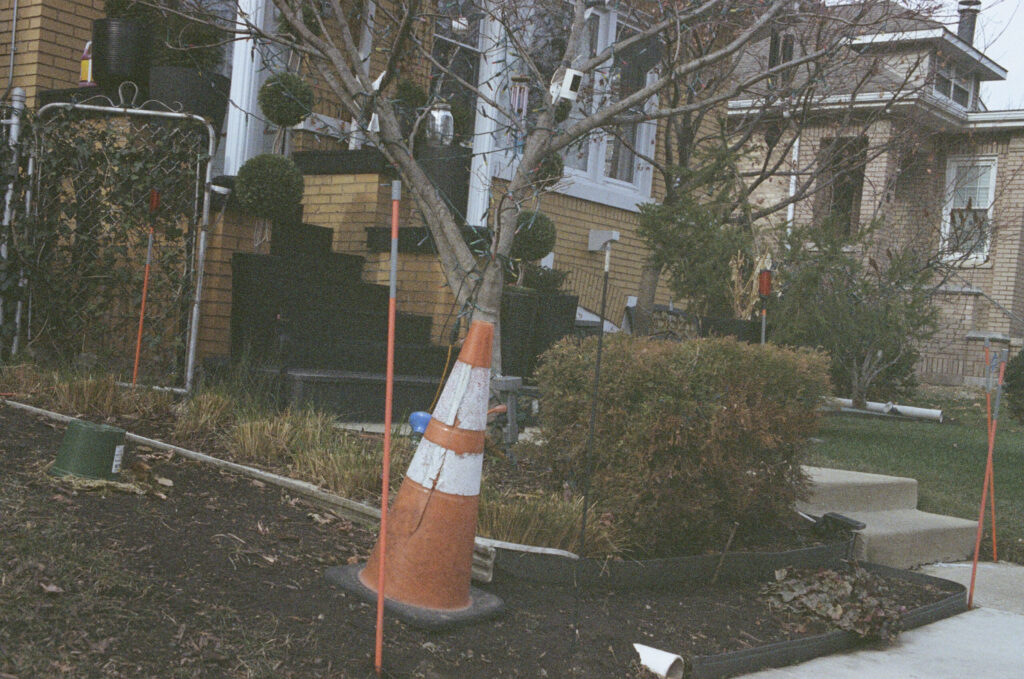
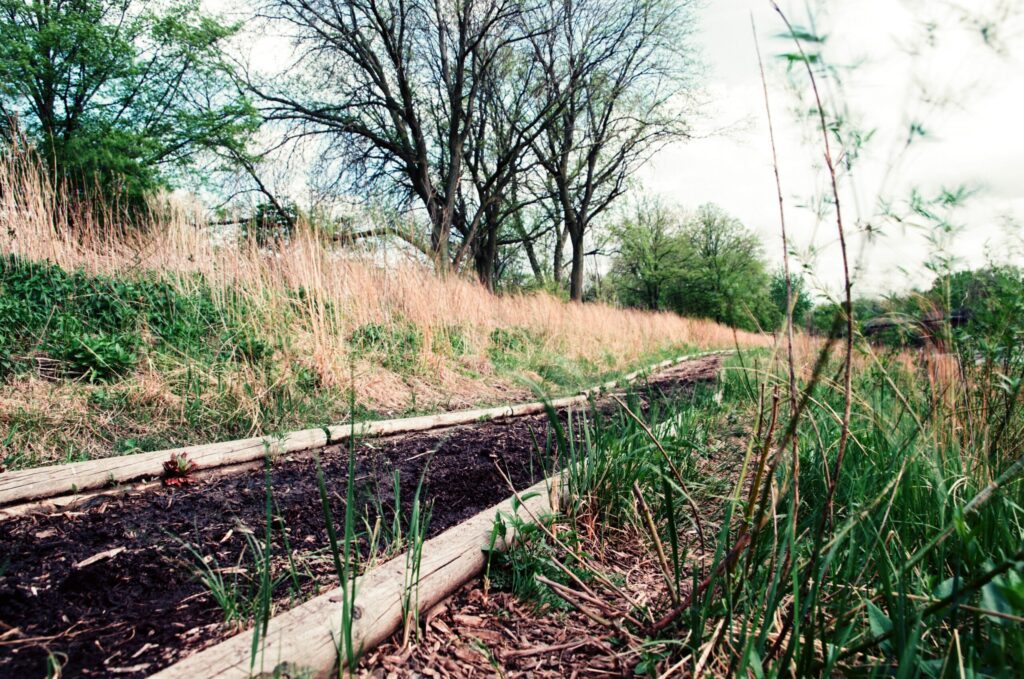
These shots actually worked! They all have a clear color cast, even if a lot of them are subtler than I’d hoped for.
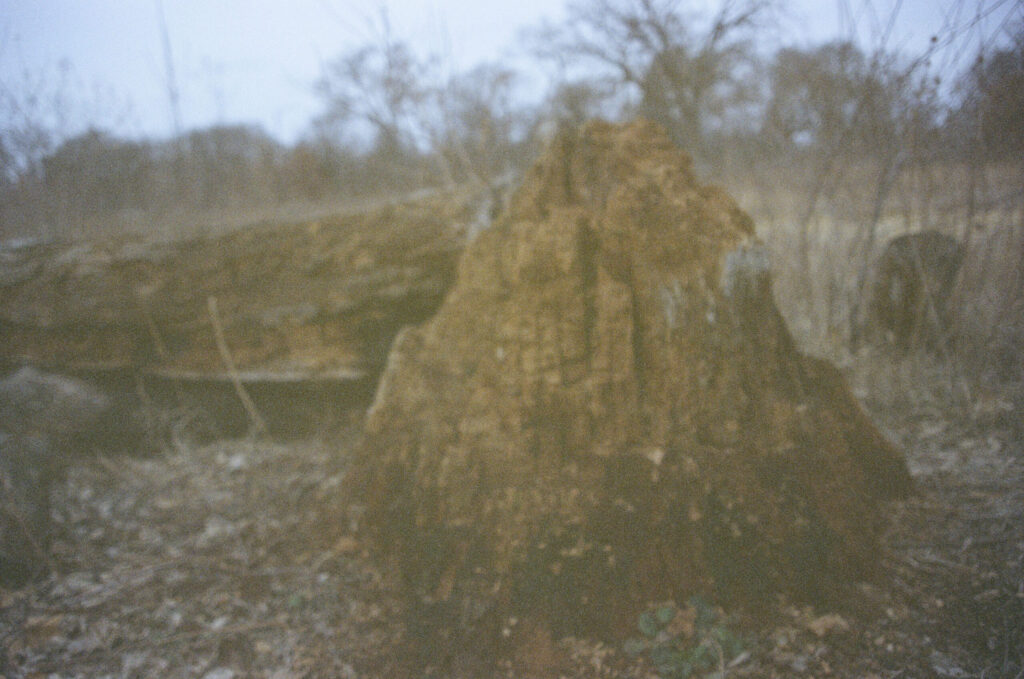
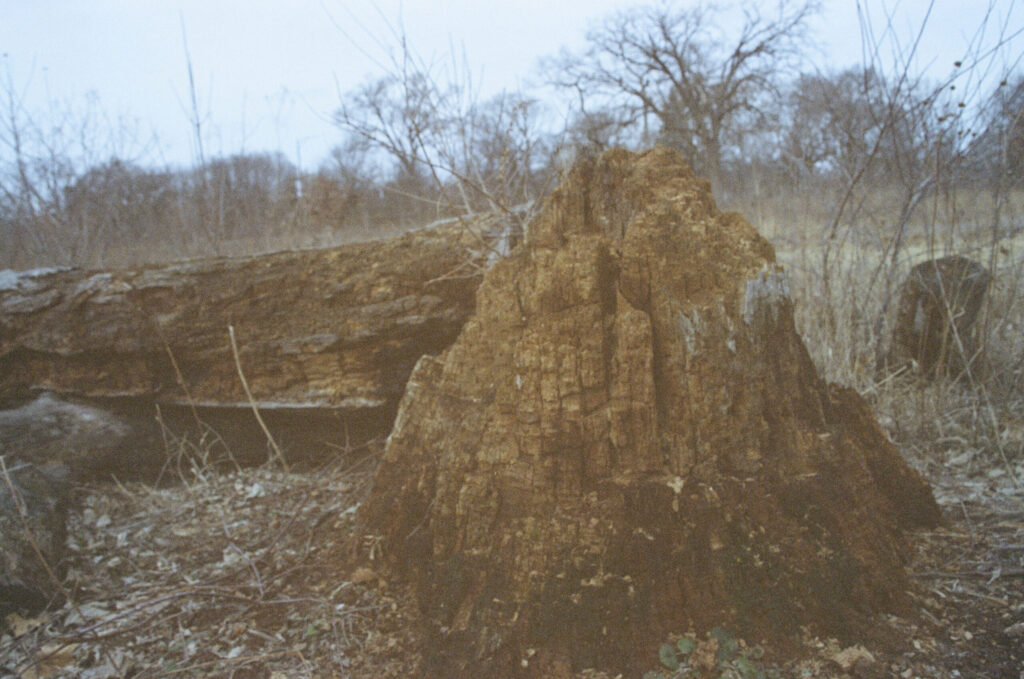
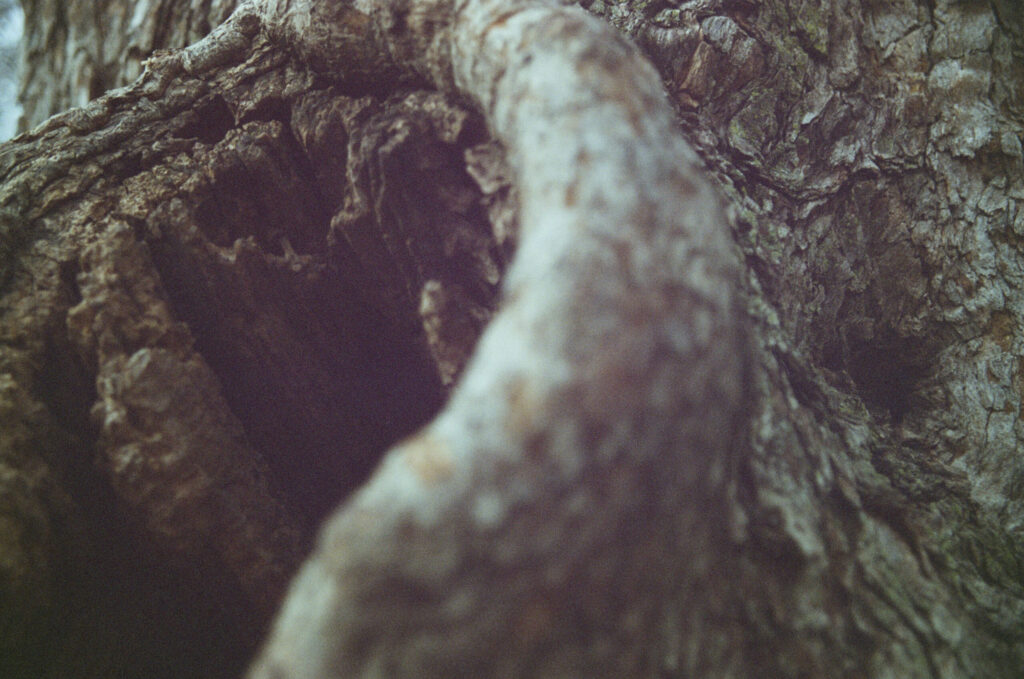
You can really see that each frame has a slightly different tint.
I’m glad I took decent notes for this experiment. Hopefully, I’ll repeat it on fresh film some day and get a stronger effect.

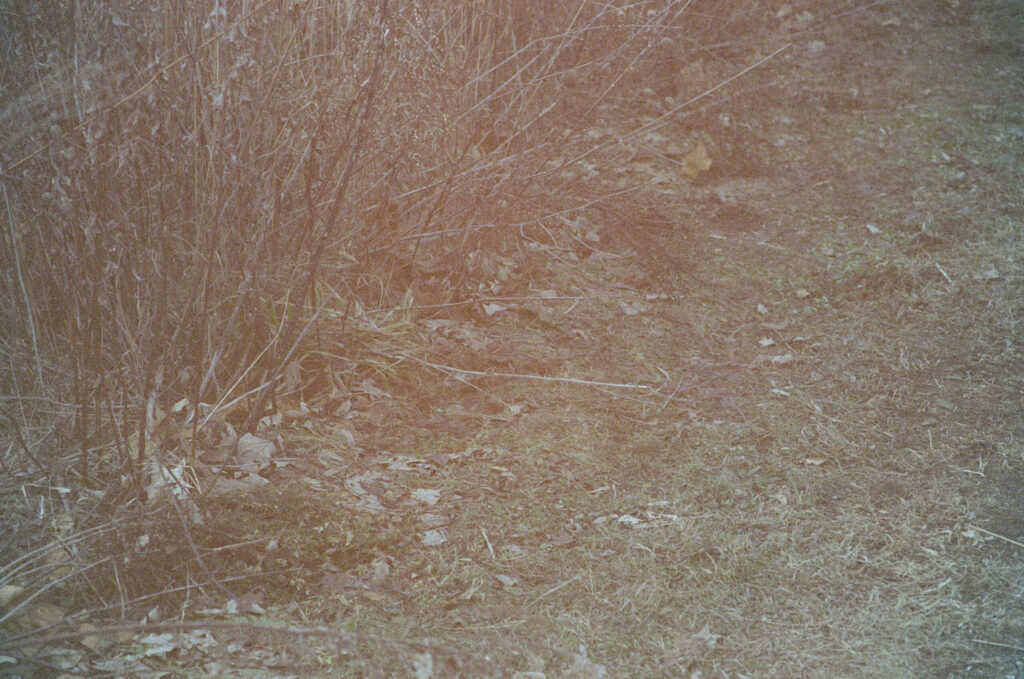
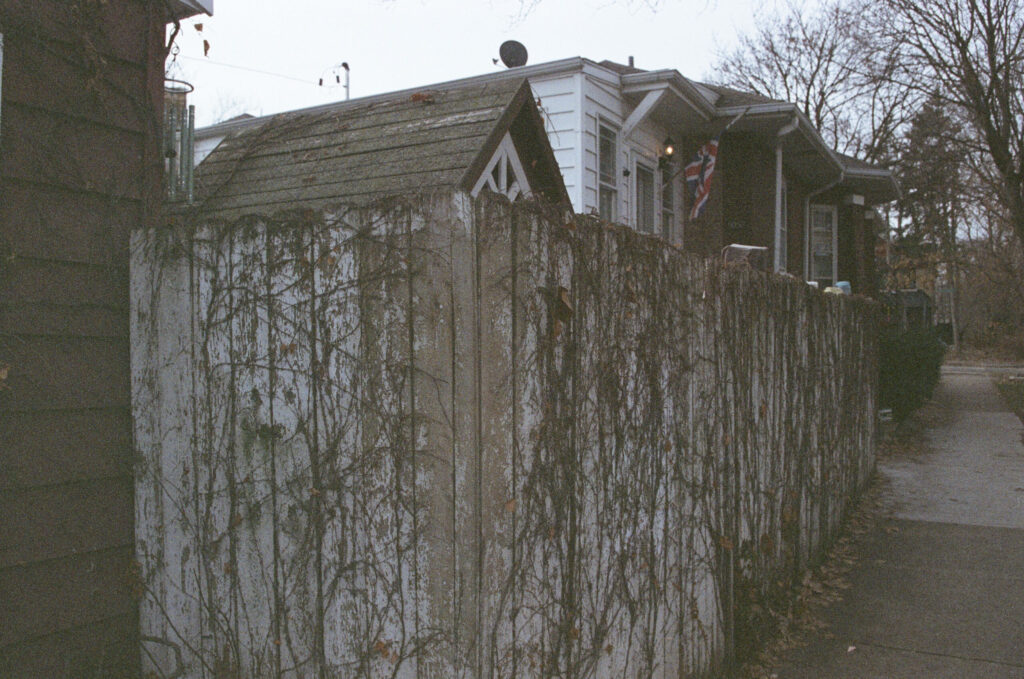
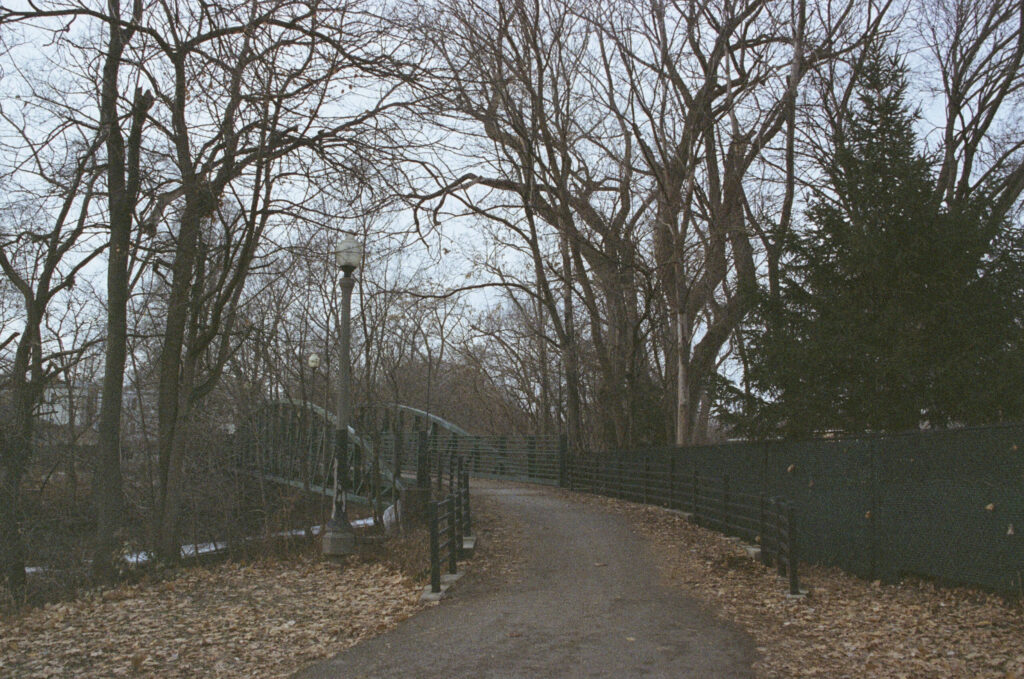
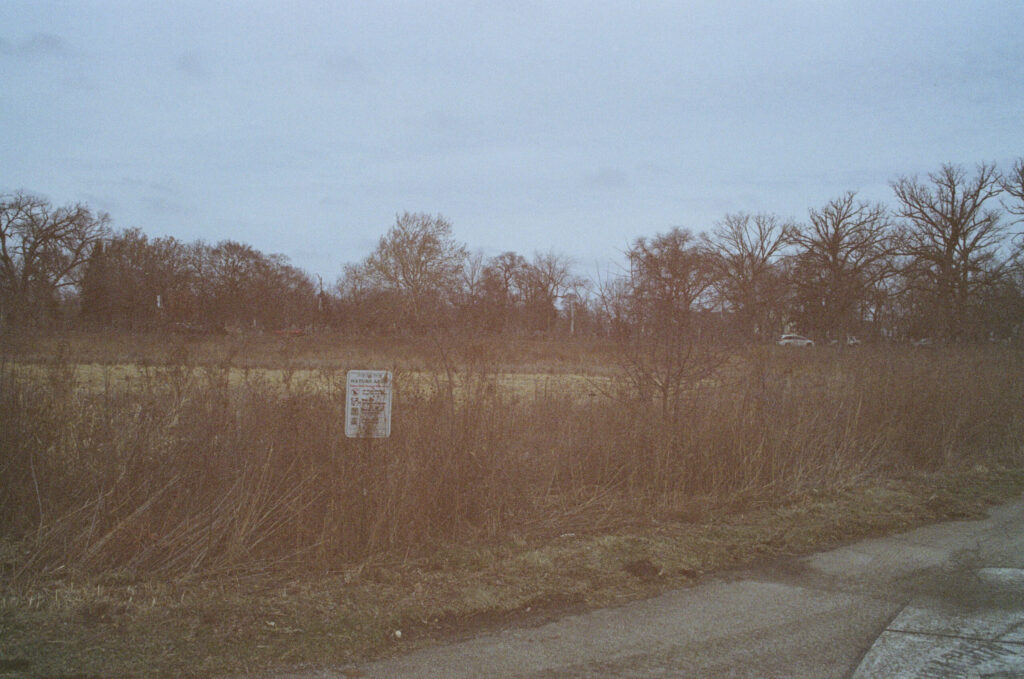
These last three frames were the biggest success in terms of getting the look I wanted, even if they don’t have much else going for them. Maybe someday I’ll even quit my addiction to buying weird and expensive film stocks!
Probably not, though.
Related Posts
Into the Darkness: Messy but Improved Night Photography
My First Roll of FPP Low ISO Color
