If you read my last post on pre-exposing expired film, you’ll recall my methodology had some flaws. This time, I did it worse. For science.
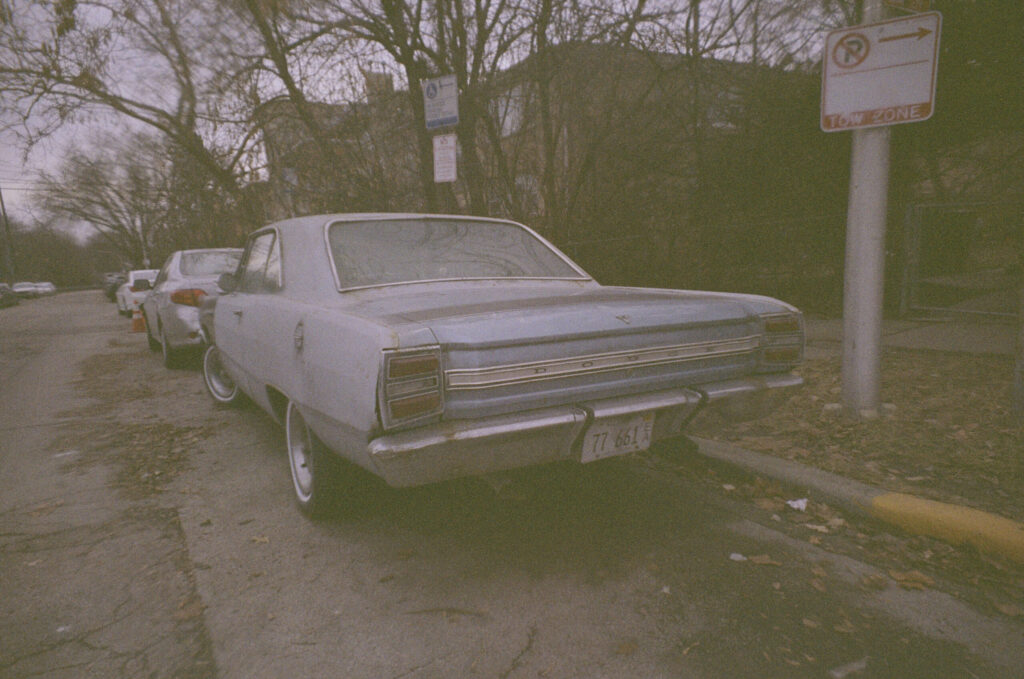
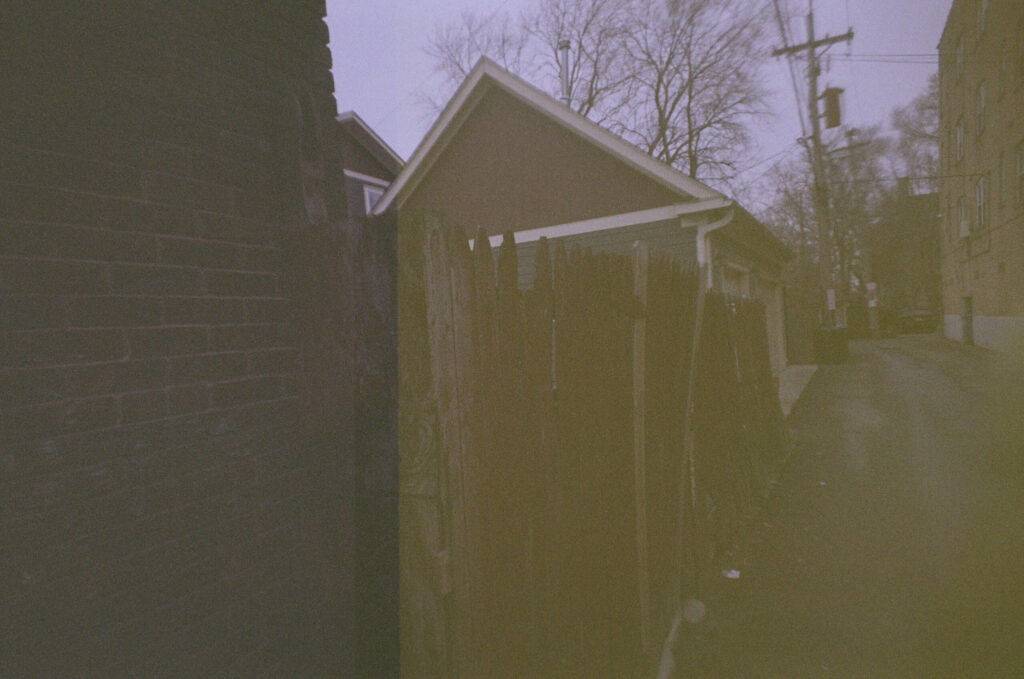
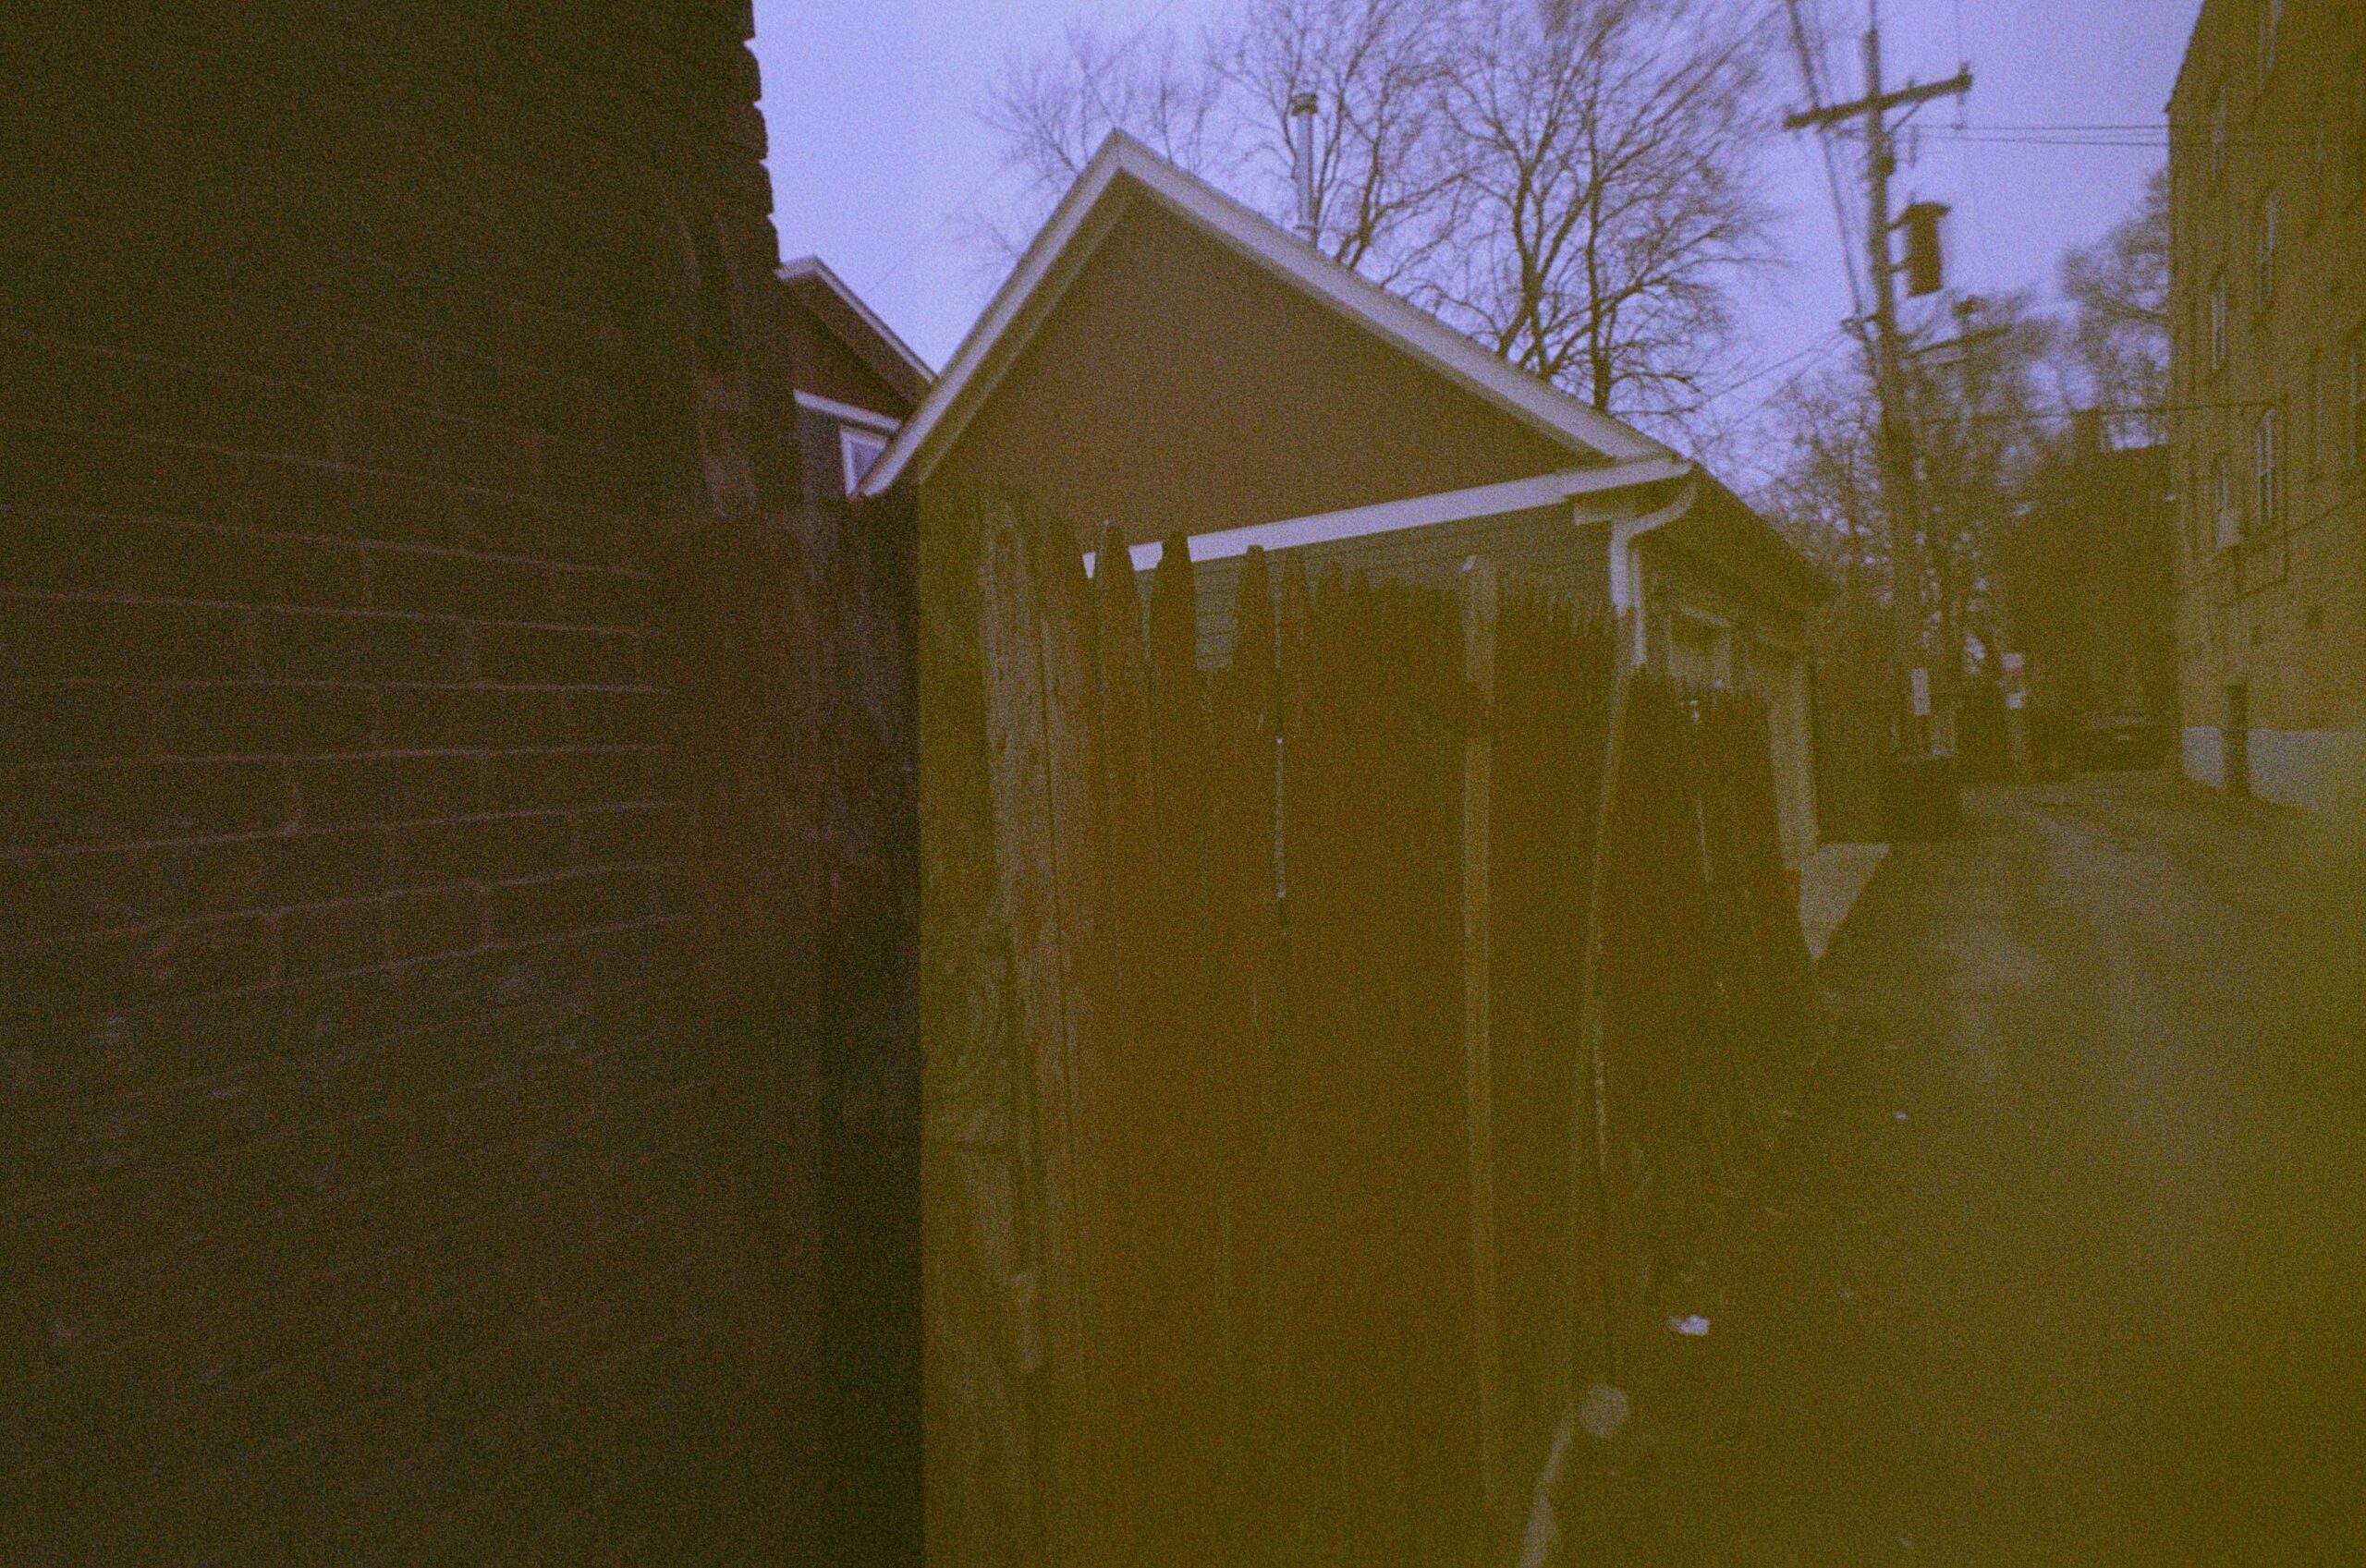
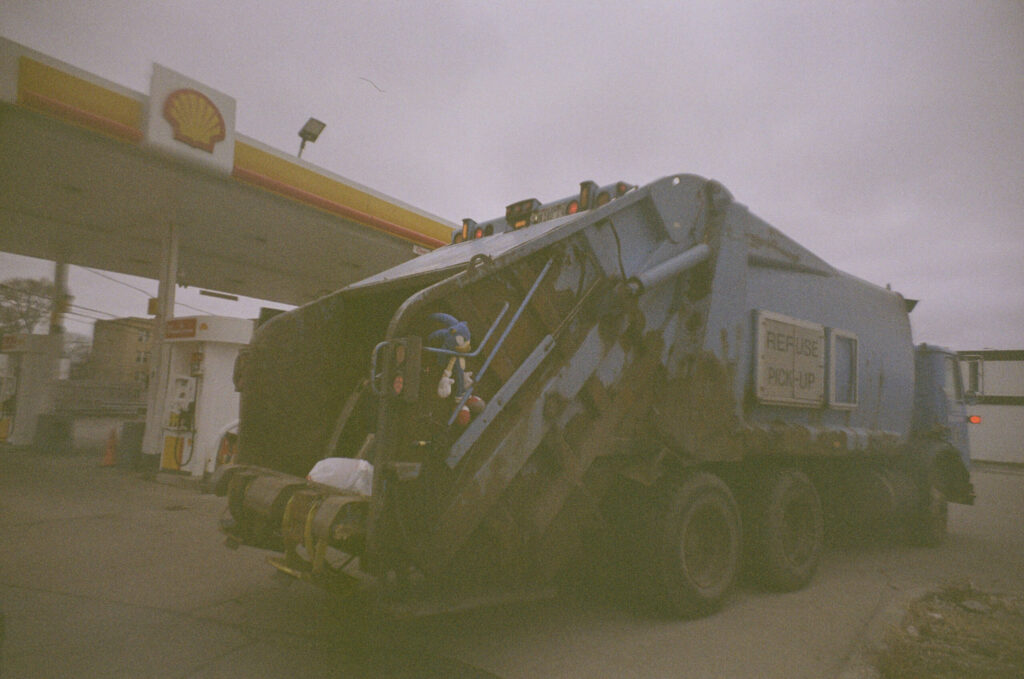
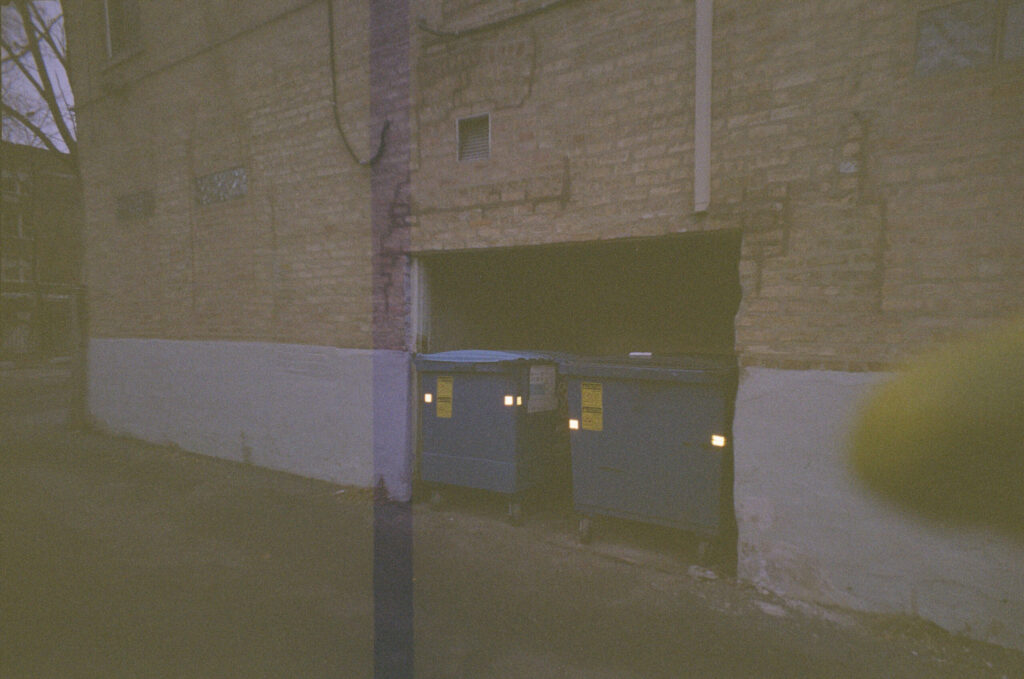
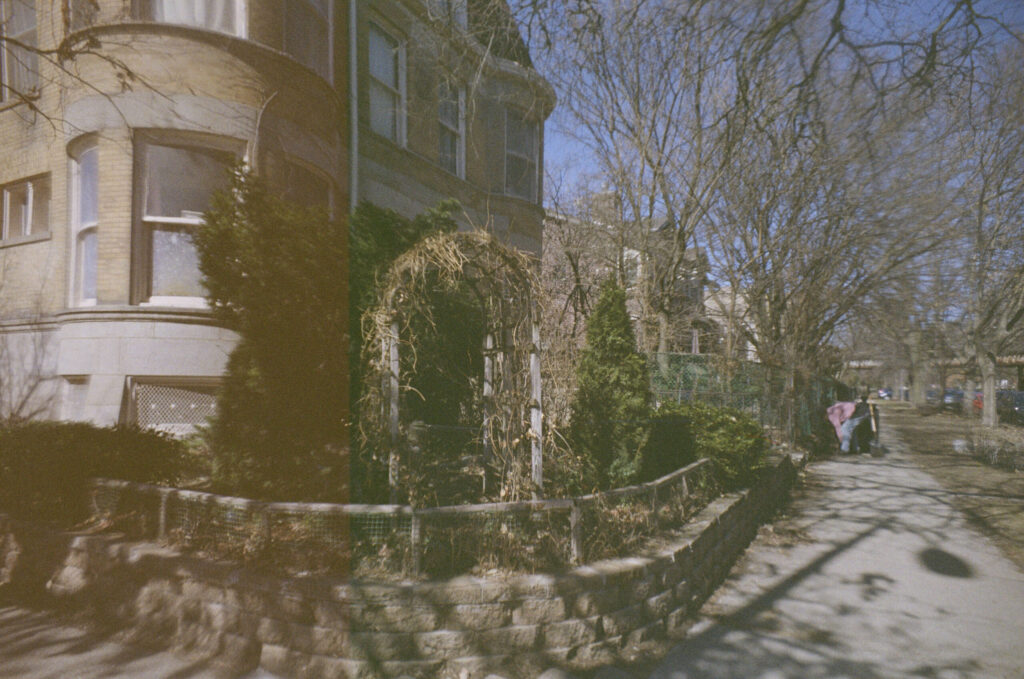
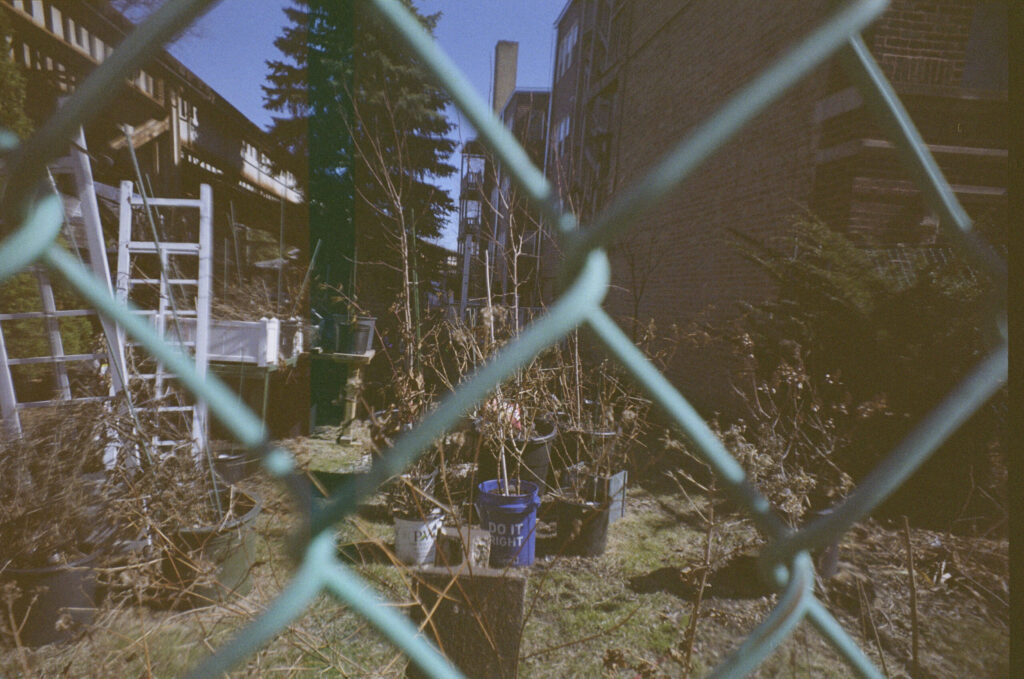
These pics will be the gross unedited versions so you can see exactly what I got back.
For my first exposure, I decided to underexpose by two stops again. Did I remember to underexpose according to the expired roll’s functional ISO, instead of box speed? Absolutely not.
I shot the lampshade of a color-changing light again, since that worked out pretty well last time. (Fun fact, that bulb has since burnt out and I’m not replacing it, so I’ll have to find a new method next time I do this!). I honestly only checked that the first frame was 2 stops under, and then just kept the settings the same throughout the roll (f/8.0 at 1/90, if you want to know).
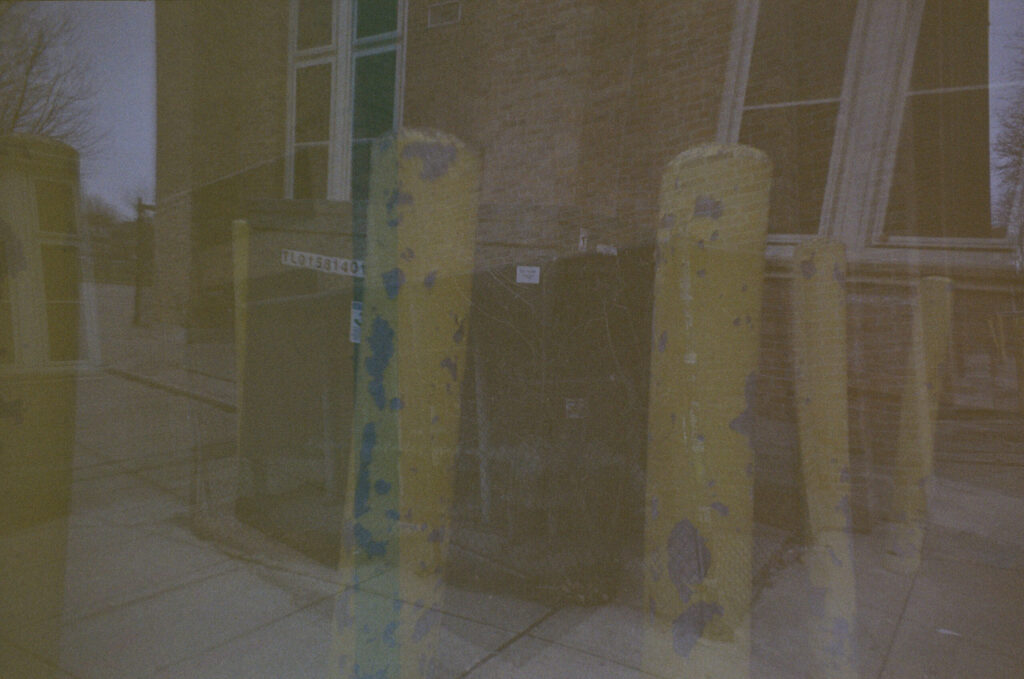
The really dicey thing I decided to do (for this, and the roll from my next post), is shoot the second exposure in a different camera than the Elan 7 I pre-exposed with. And not just any different camera, but the LomoApparat, a device so janky to load that I thought it was broken the first time I used it. I love this camera to death, but its winding just does not have the kind of precision that would’ve been needed to get both sets of frames lined up properly. This didn’t make a difference for some frames, but in most of them it was extremely clear things were misaligned.
The other downside to using this camera is that since it has no exposure settings, you can’t really meter. The best method I’ve figured out is opening the Light Meter app on my phone, selecting the fixed aperture and shutter speed of the LomoApparat (f/10 and 1/100sec), and seeing what ISO it gives me. If it says some nonsense like 6400, I know not to take the shot. That’s about as good as it gets, and it pretty much works, though this roll is so expired it’s all kind of muddy anyway despite me only shooting if the ISO listed was 500 or lower. Realistically, I probably should’ve shot for 200.
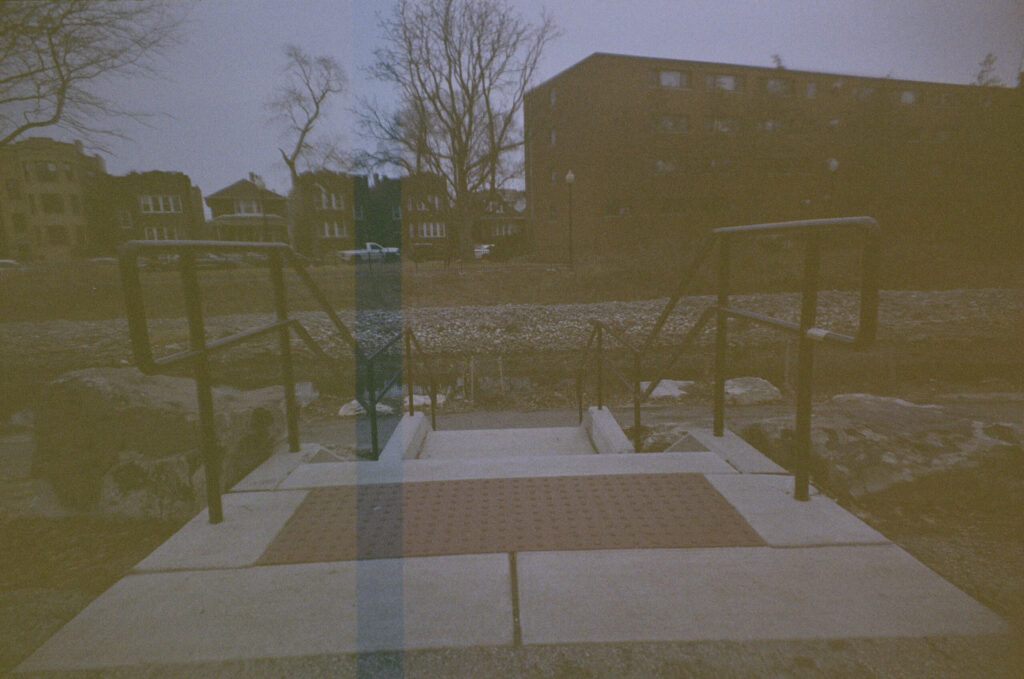
On the visible frame lines- this actually worked out better than I expected. Since I don’t scan myself (yet!), I never know how the scanner at the lab is going to interpret things. I was happy to see the “correct” frame lines were selected (i.e. going by subject rather than by color). This also means you get some fun color splits:
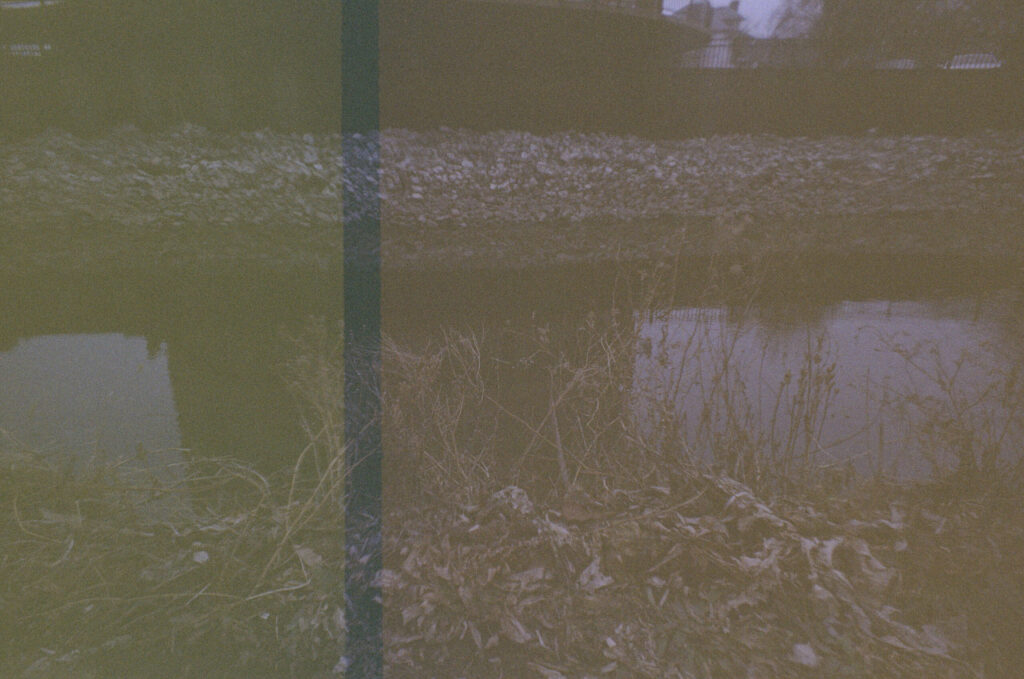
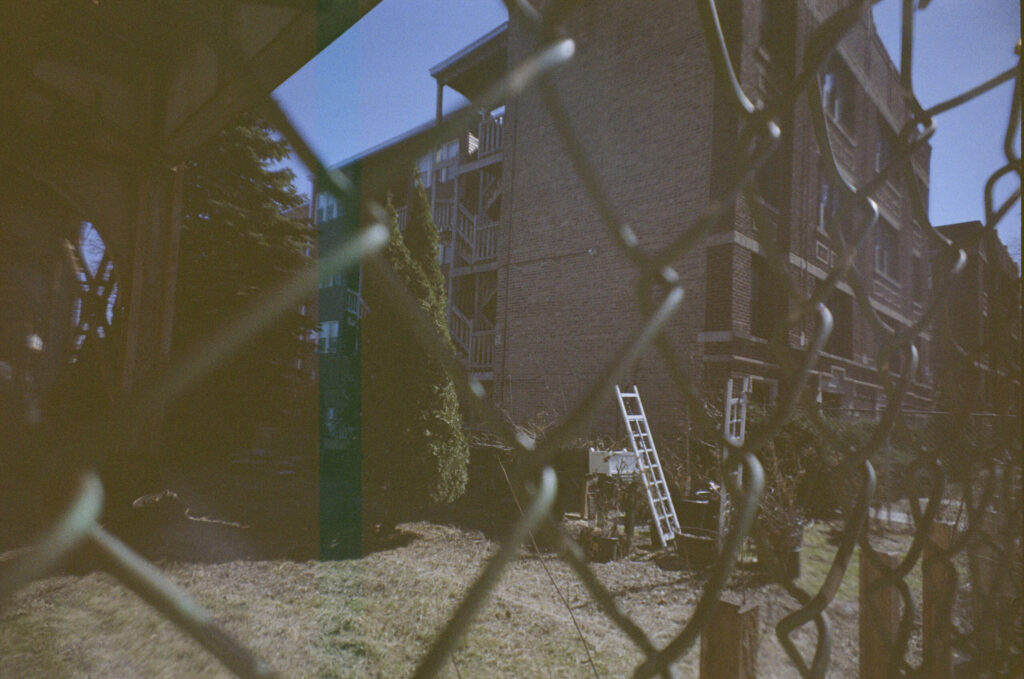
The other thing I found interesting was that those visible frame lines are actually technically a sneak peek at what the film would have looked at without the pre-exposure- sort of. Those slivers are much cooler, ranging from teal to purple. But would those scenes have actually come out that color under normal circumstances? Probably not. My guess is that the scanners were trying to correct for the warm tint from the pre-exposure, and the only non-tinted parts of the film became collateral damage. I guess we’ll never know until I start scanning my own film someday!
So, would it have been better to use a camera that would’ve lined the frames up properly and/or let me meter accurately? Yes, absolutely. But I think doing it “wrong” wound up being more educational. My next post will be about me doing weird stuff to some non-expired film, so stay tuned for some whacky photos that aren’t underexposed garbage!
Related Posts
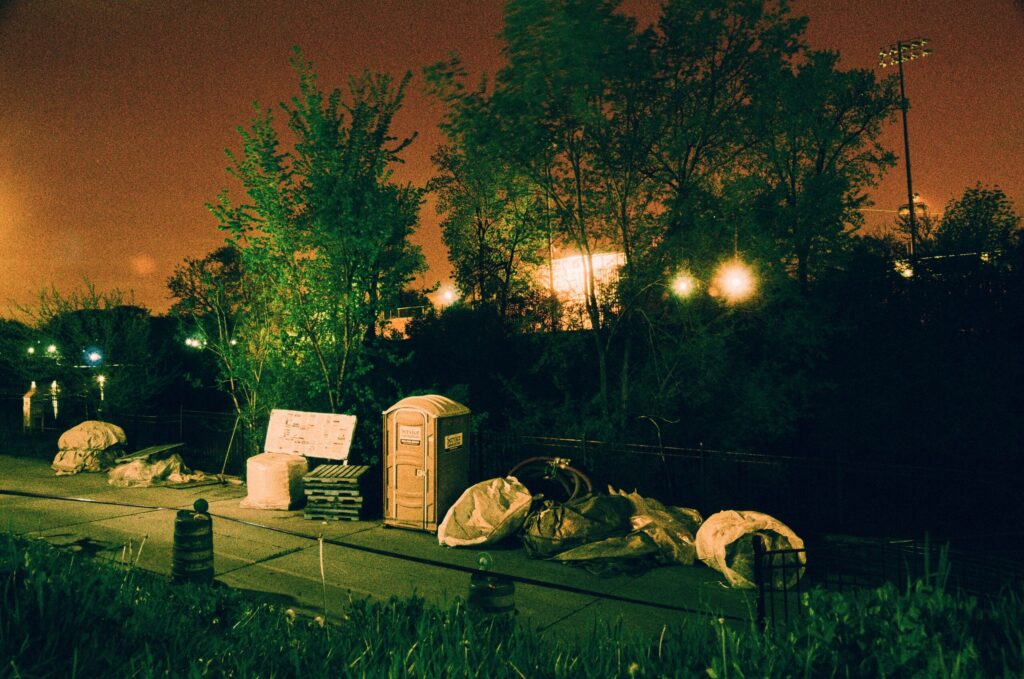
Into the Darkness: Messy but Improved Night Photography
My First Roll of FPP Low ISO Color

One Comment