
Ever buy a roll of film because it’s $5 and then realize it was that cheap because it only had 18 exposures? That happened to me with FlicFilm UltraPan 18 400. And yes, the 36-exposure version is only $1.50 more.
The 18-exposure version is marketed towards people with half-frame cameras, who would get the normal 36 shots out of this instead of the sometimes-daunting 72 that a 36-exposure roll would produce.
I don’t have a half-frame camera, but for a few more bucks I was able to pay my coworker’s husband to 3-D print me a solution: the Splitzer + filter.
Shoutout to Aaron. You’re a real one.
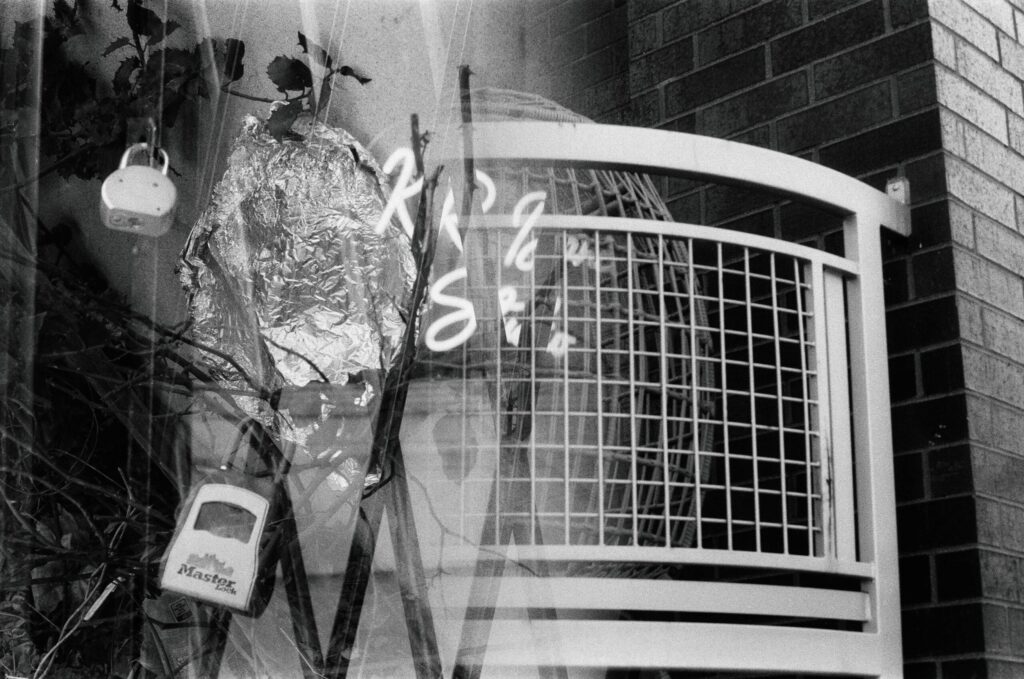
The filter covers part of your lens, and can be rotated in any direction. I used it straight up-and-down to shoot half-frame. To use it, you need to use a camera with a multiple exposure function, allowing you to take two exposures per frame and swivel the filter around between exposures. Luckily, my Elan 7 makes this pretty easy. It does mean I had to press two whole buttons between each frame though (and adjust the filter between exposures), which isn’t difficult by any means but was definitely a different workflow than I’m used to.
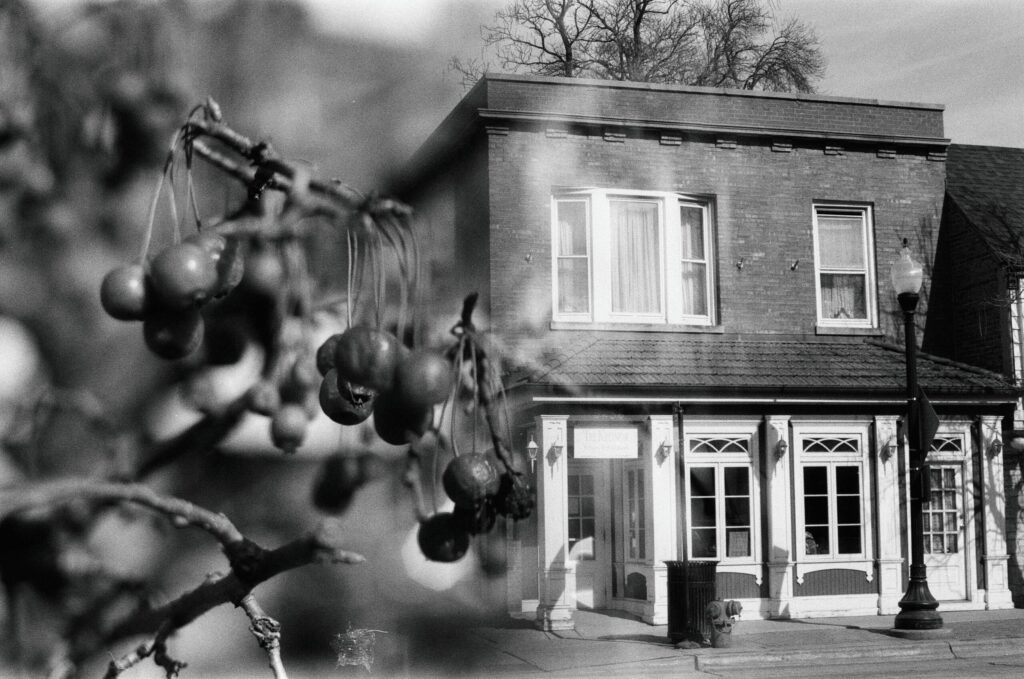
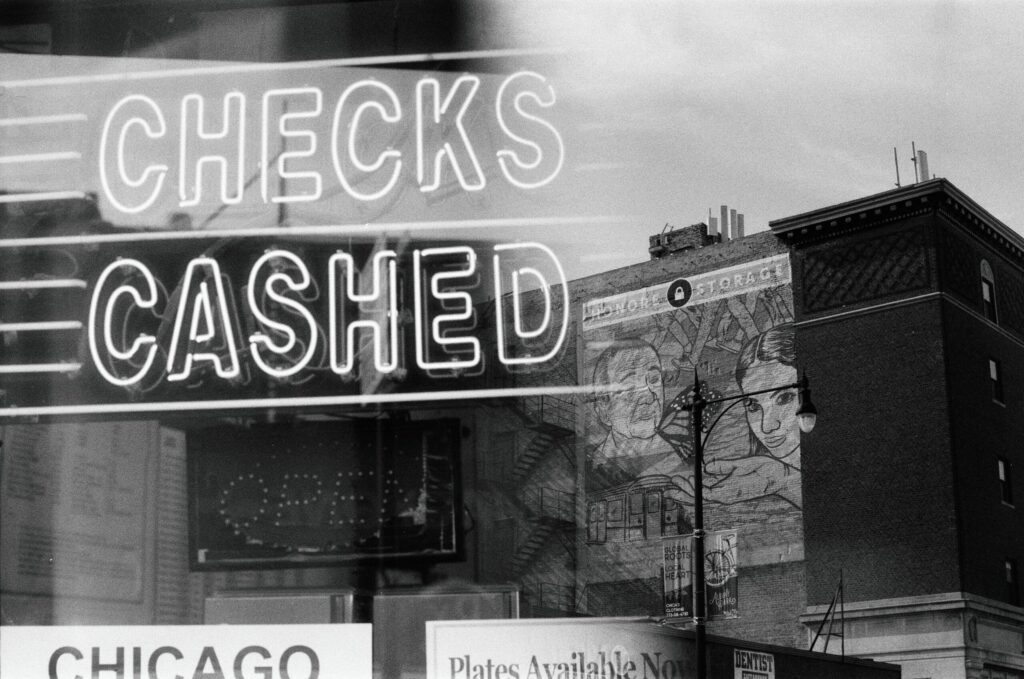
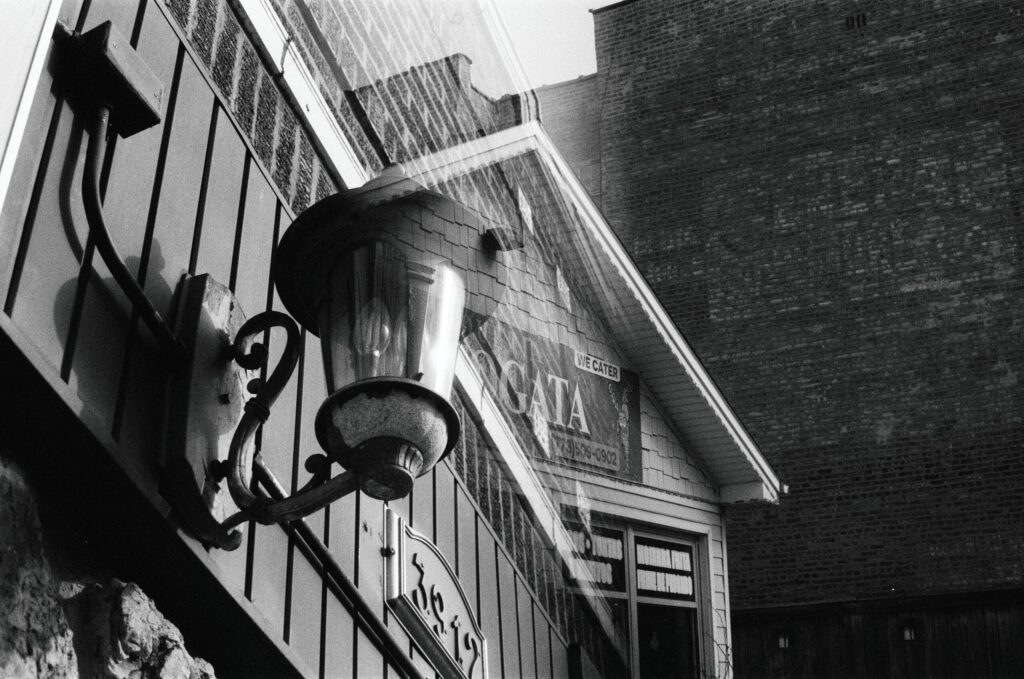
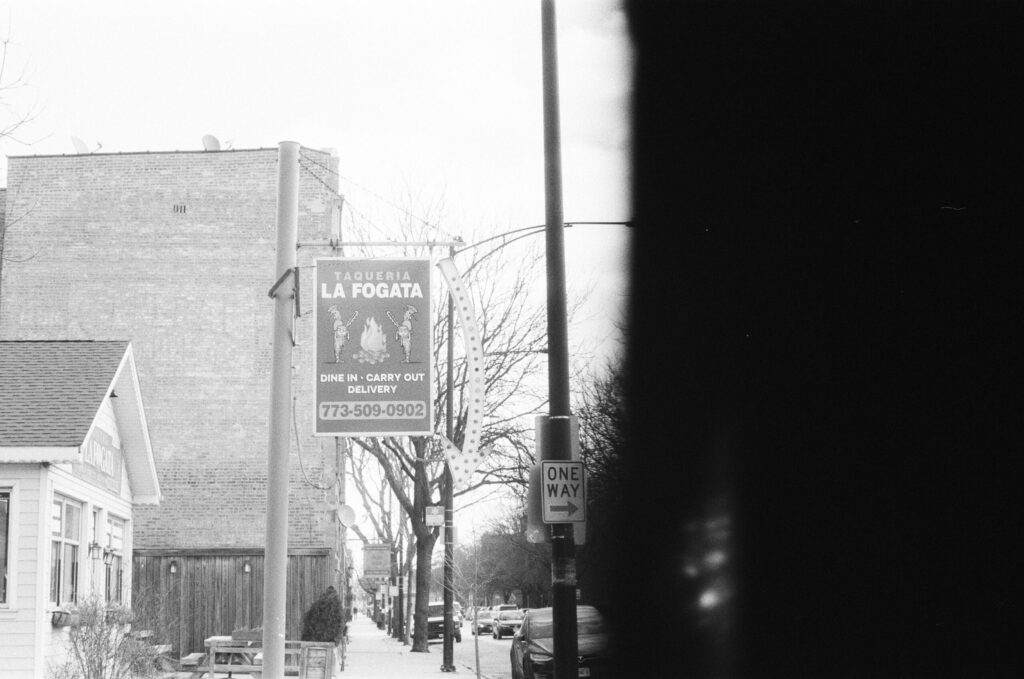
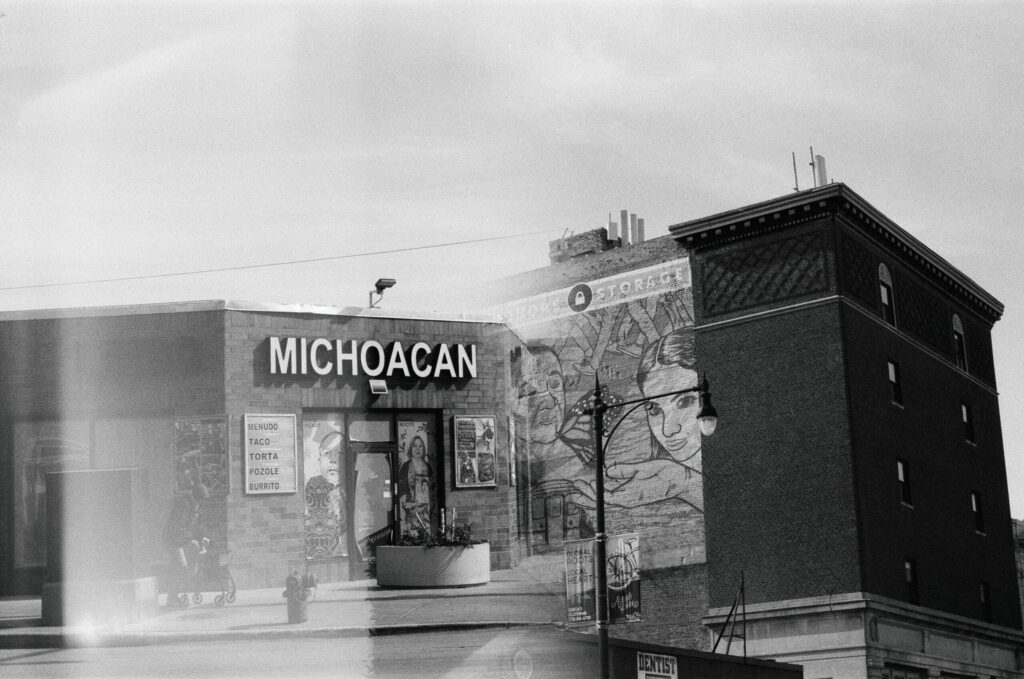
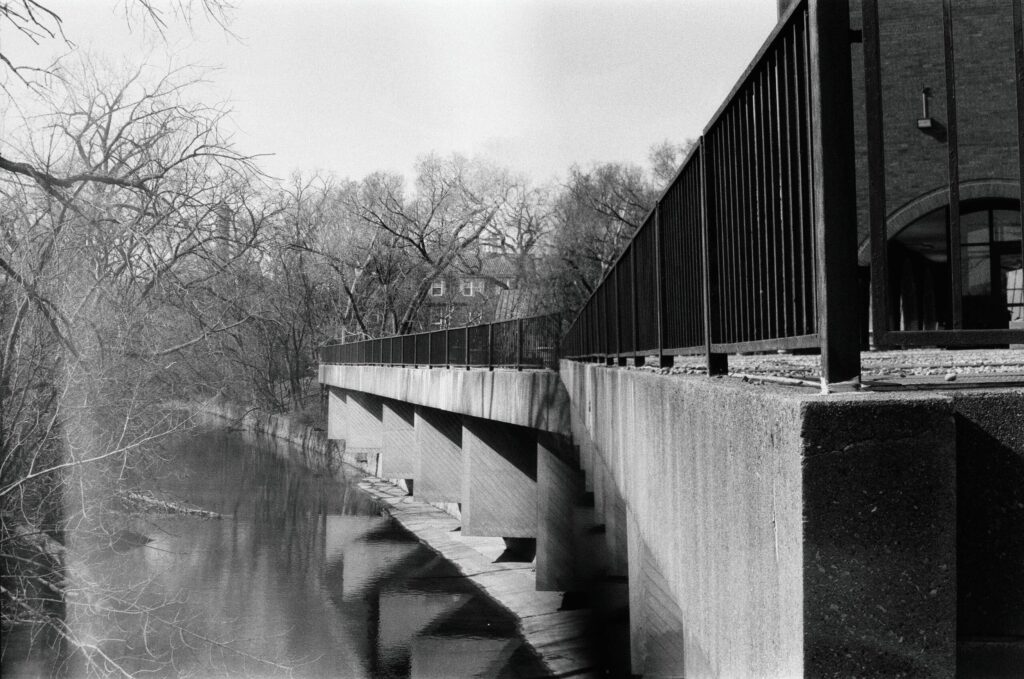
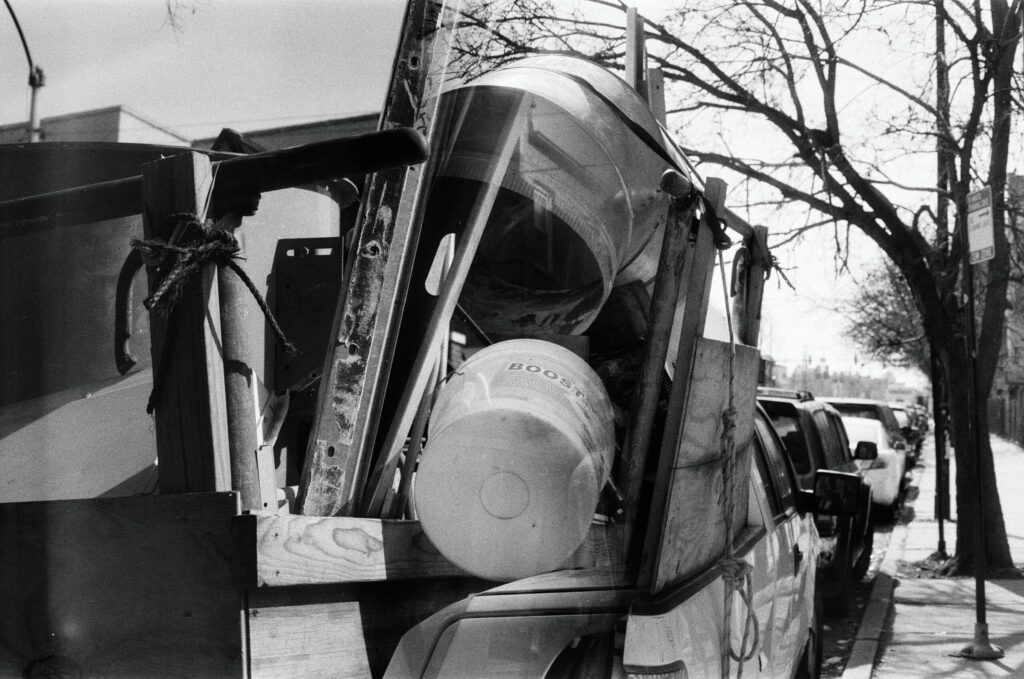
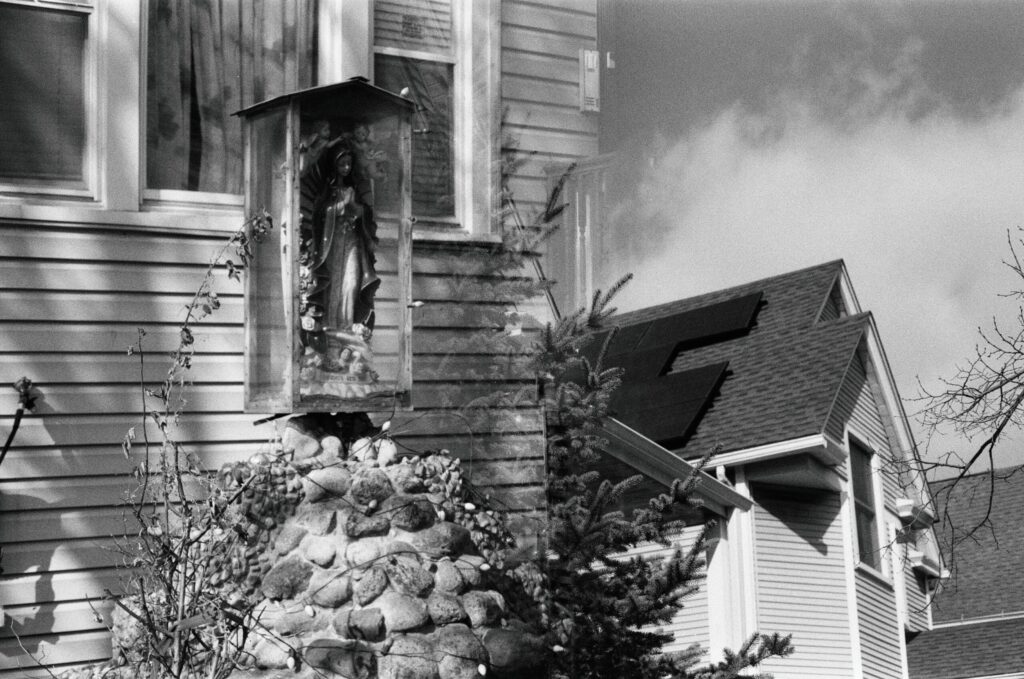
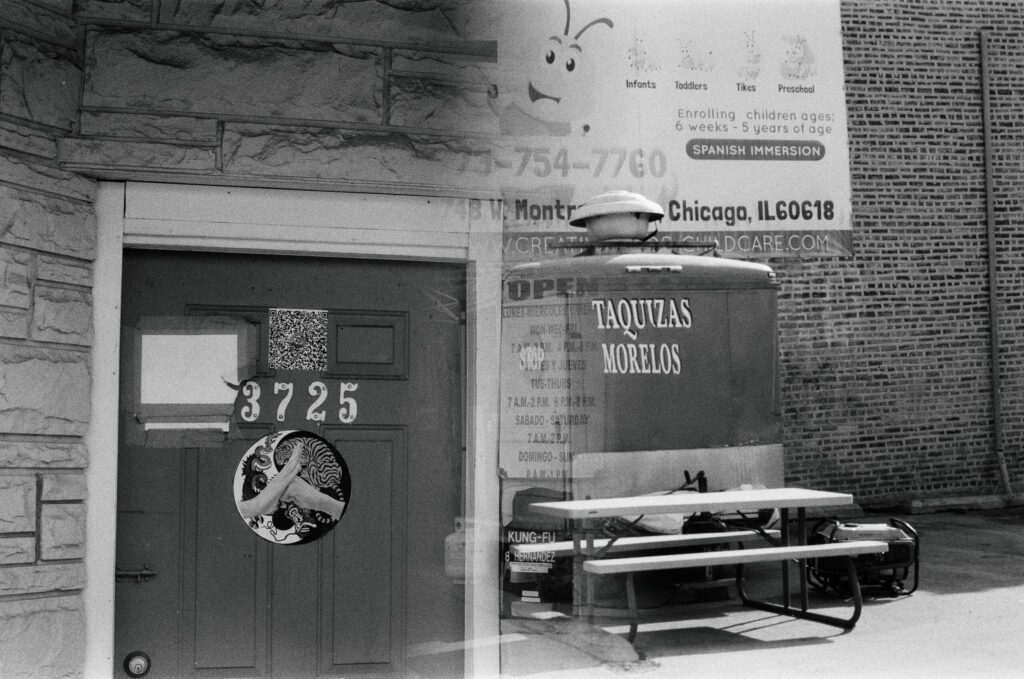
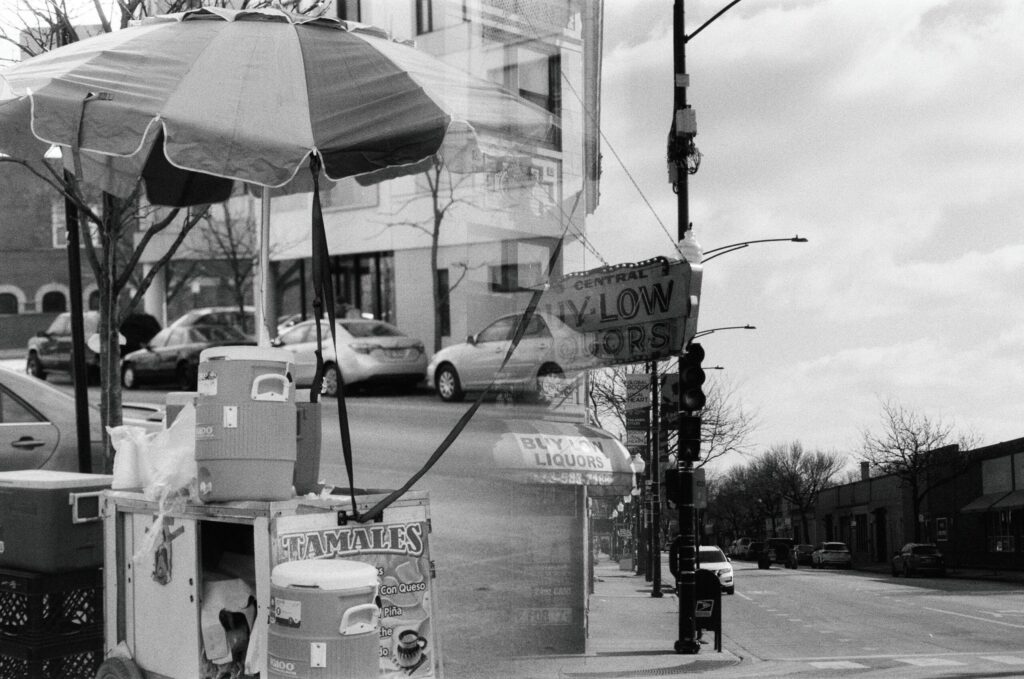
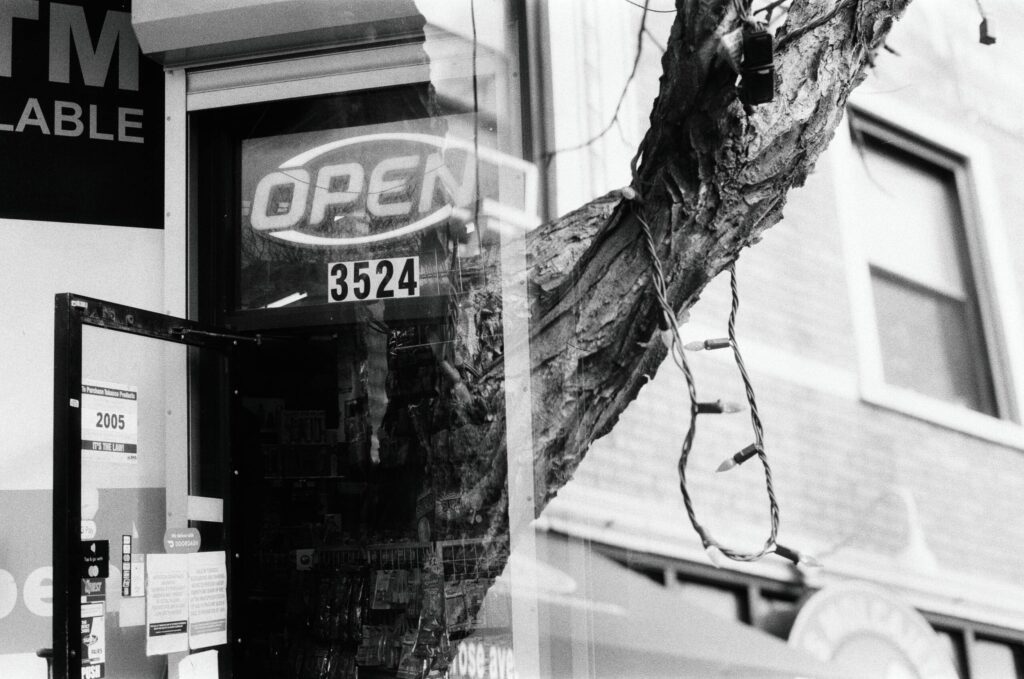
This produced two images that overlap in the middle, rather than cutting off in a hard line like you’d get on an actual half-frame camera. I wound up liking that partial-double-exposure effect, and preferred how the images looked as one frame rather than diptychs. This does make editing a bit tricky if the two images have different levels of exposure, but most of my exposures were pretty similar.
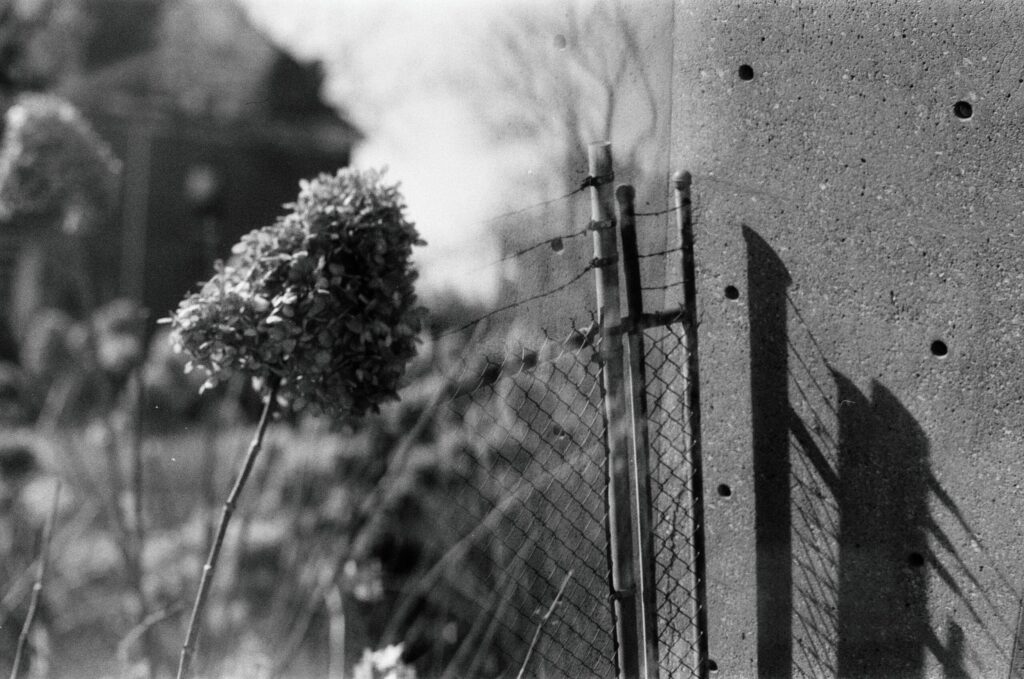
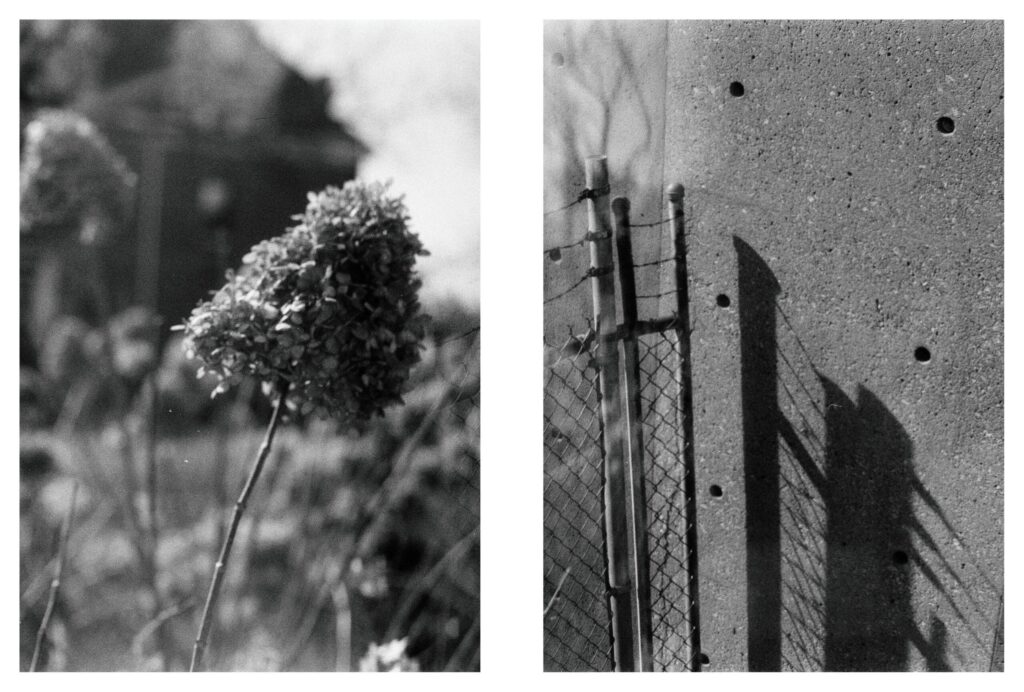
When using a filter like this, you have to be careful if you’re metering through the lens. The filter blocks half the light, and the camera’s light meter doesn’t “know” why, so it compensates by overexposing the scene by a stop. (I did test this out before using it, and it really is exactly one stop! It makes perfect sense but was cool to see in action). I was feeling lazy and shot in aperture priority mode, figuring black & white film can handle a little overexposure. I was mostly right, but a couple images wound up pretty fried.
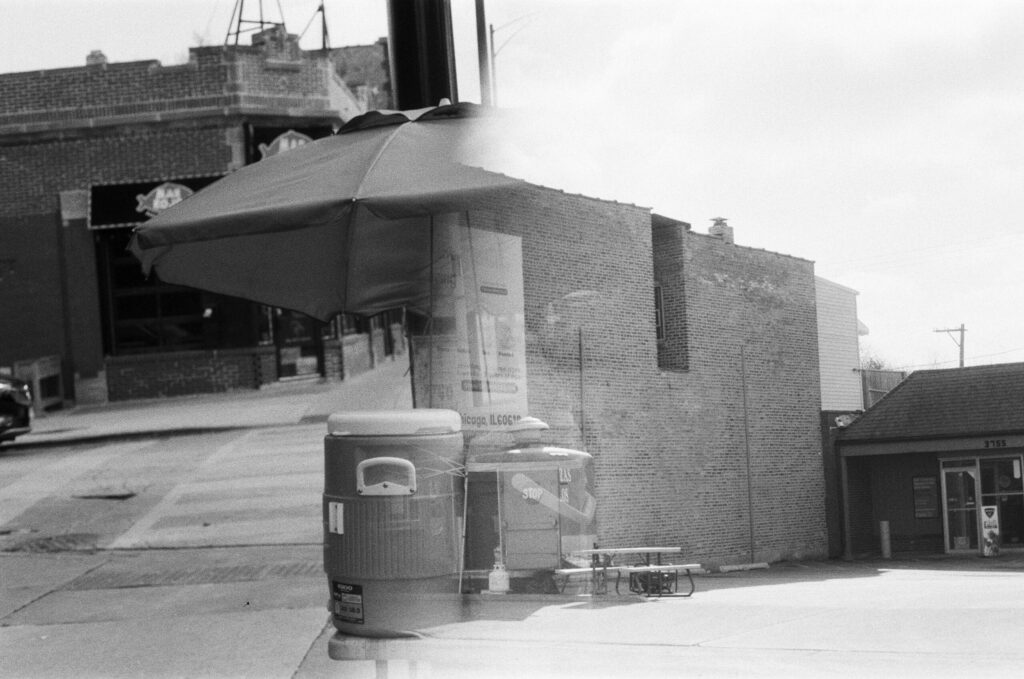
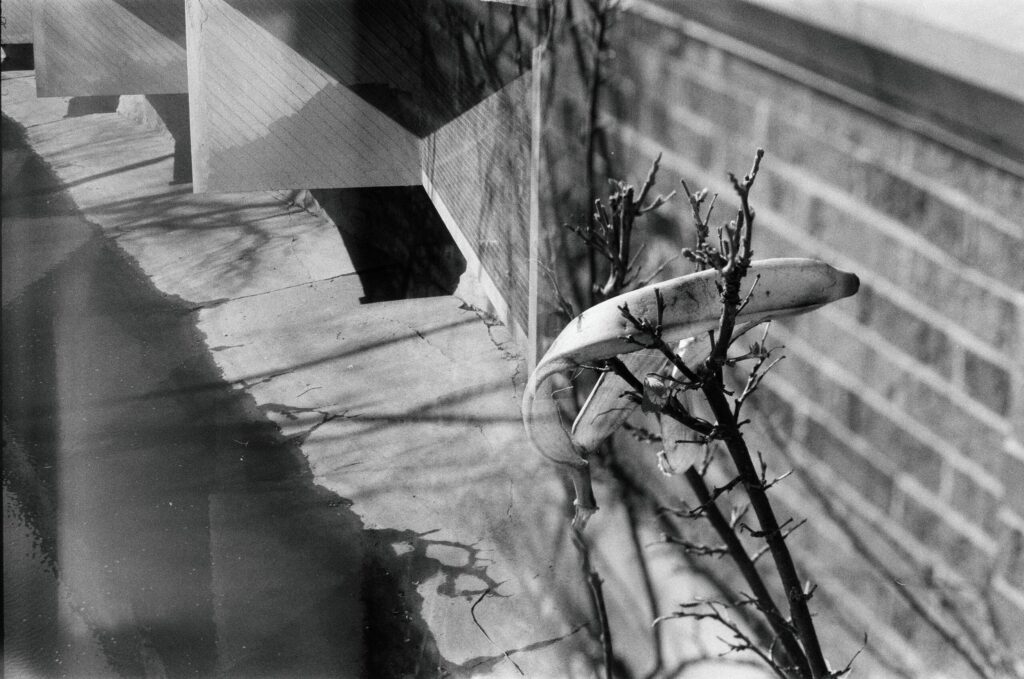
I was able to bring these down a bit in post, but these are the unedited versions
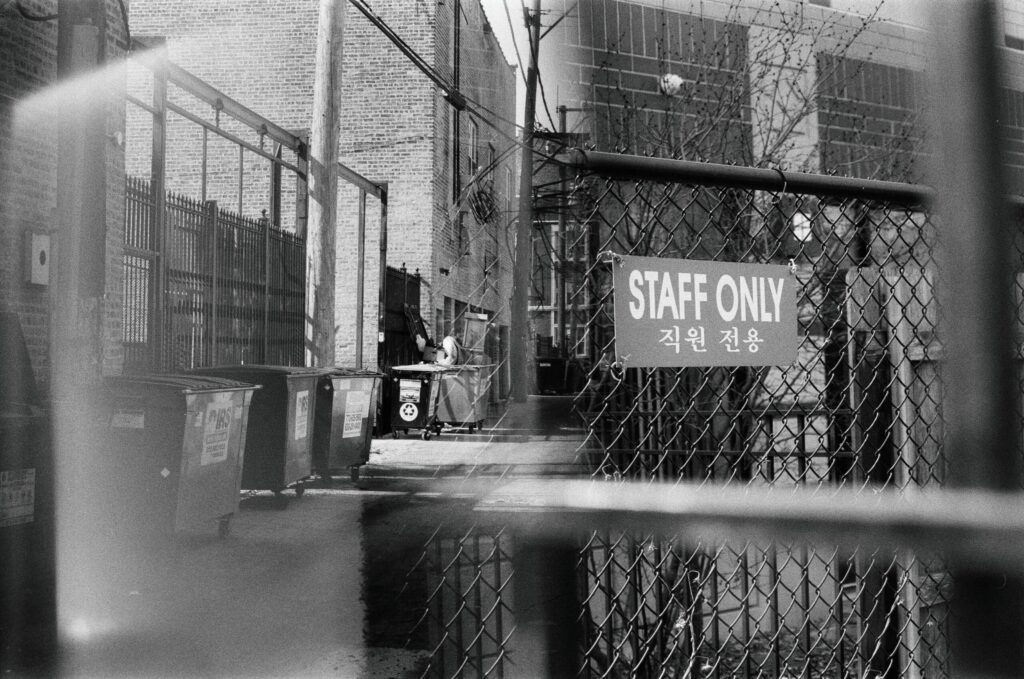
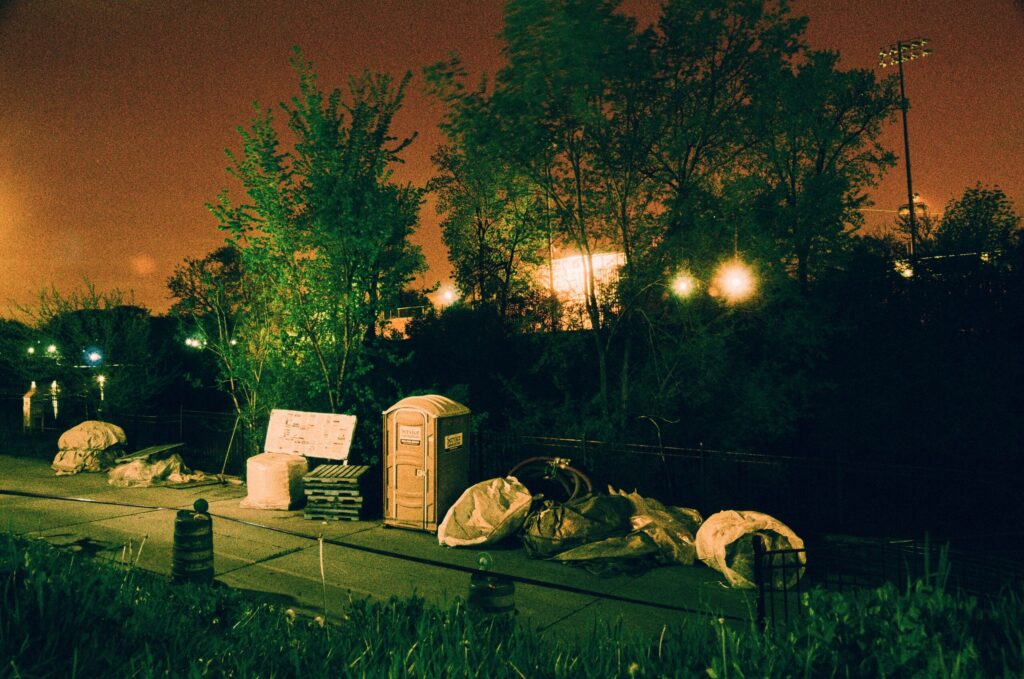
After shooting this roll, I did notice the wad of gaffer tape holding together the back of my busted camera wasn’t looking too hot. I reapplied the tape before my next roll, but there are some pretty intense light leaks in this one.

This was a really fun experiment. It wound up being more good ol’ lomographic fun rather than a way to get 36 distinct exposures out of an 18-exposure roll, but I got some pretty cool results. Now that I know what to expect, I think it’d be possible to get more interesting photos out of this if I put some thought into what subjects I’m pairing up.
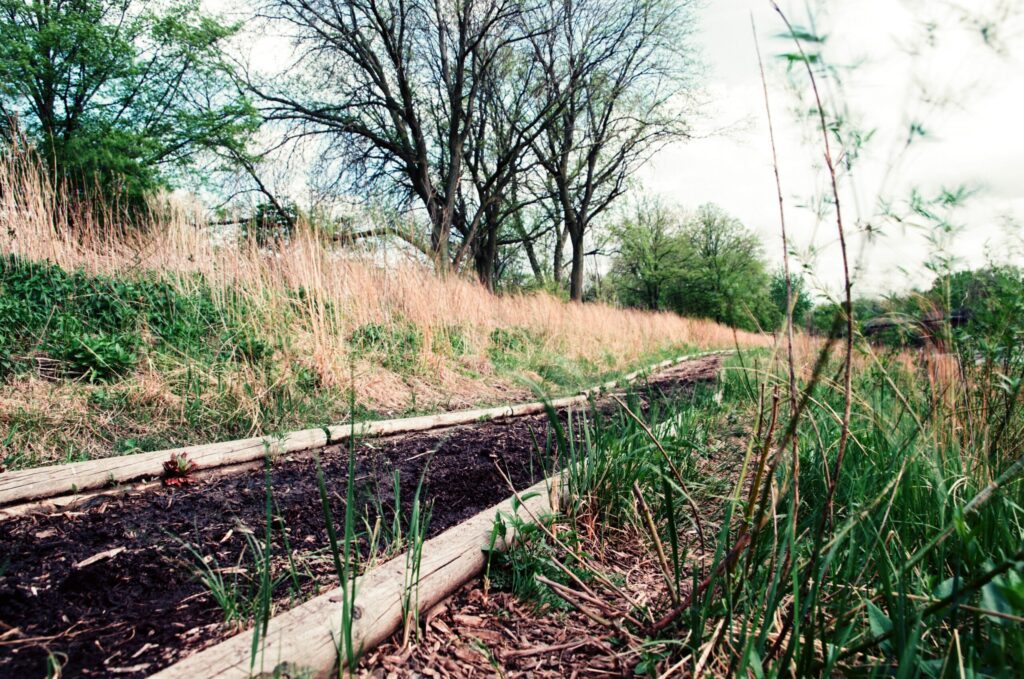
Would I shoot this film again? Right now, no. It costs the same to have 18 frames developed as it does 36 frames. If I start developing my own film someday, though, that will change! One of my favorite shots of mine was taken on the 100-speed version of this film stock:
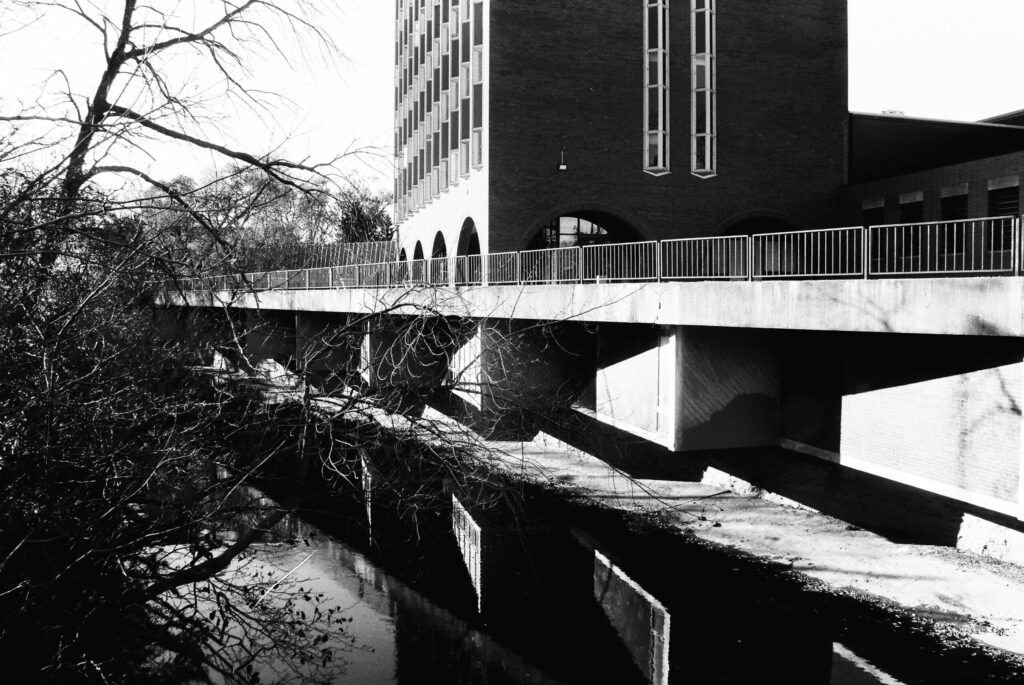
I actually shot the same subject on this roll, and I think it could’ve come out pretty cool if I’d put more thought into how the two halves would look together.
I wouldn’t say I got 18 usable images out of this roll, let alone 36, but much of that was my own fault. I’m actually glad I tried this out on a shorter roll. Now that I know what kind of effect I’ll get, this is something I’ll probably try on select frames on future rolls rather than doing the whole roll like this. I think this technique has a lot of potential, especially for a filter that only cost a few bucks to have made!
Related Posts
Into the Darkness: Messy but Improved Night Photography
My First Roll of FPP Low ISO Color
